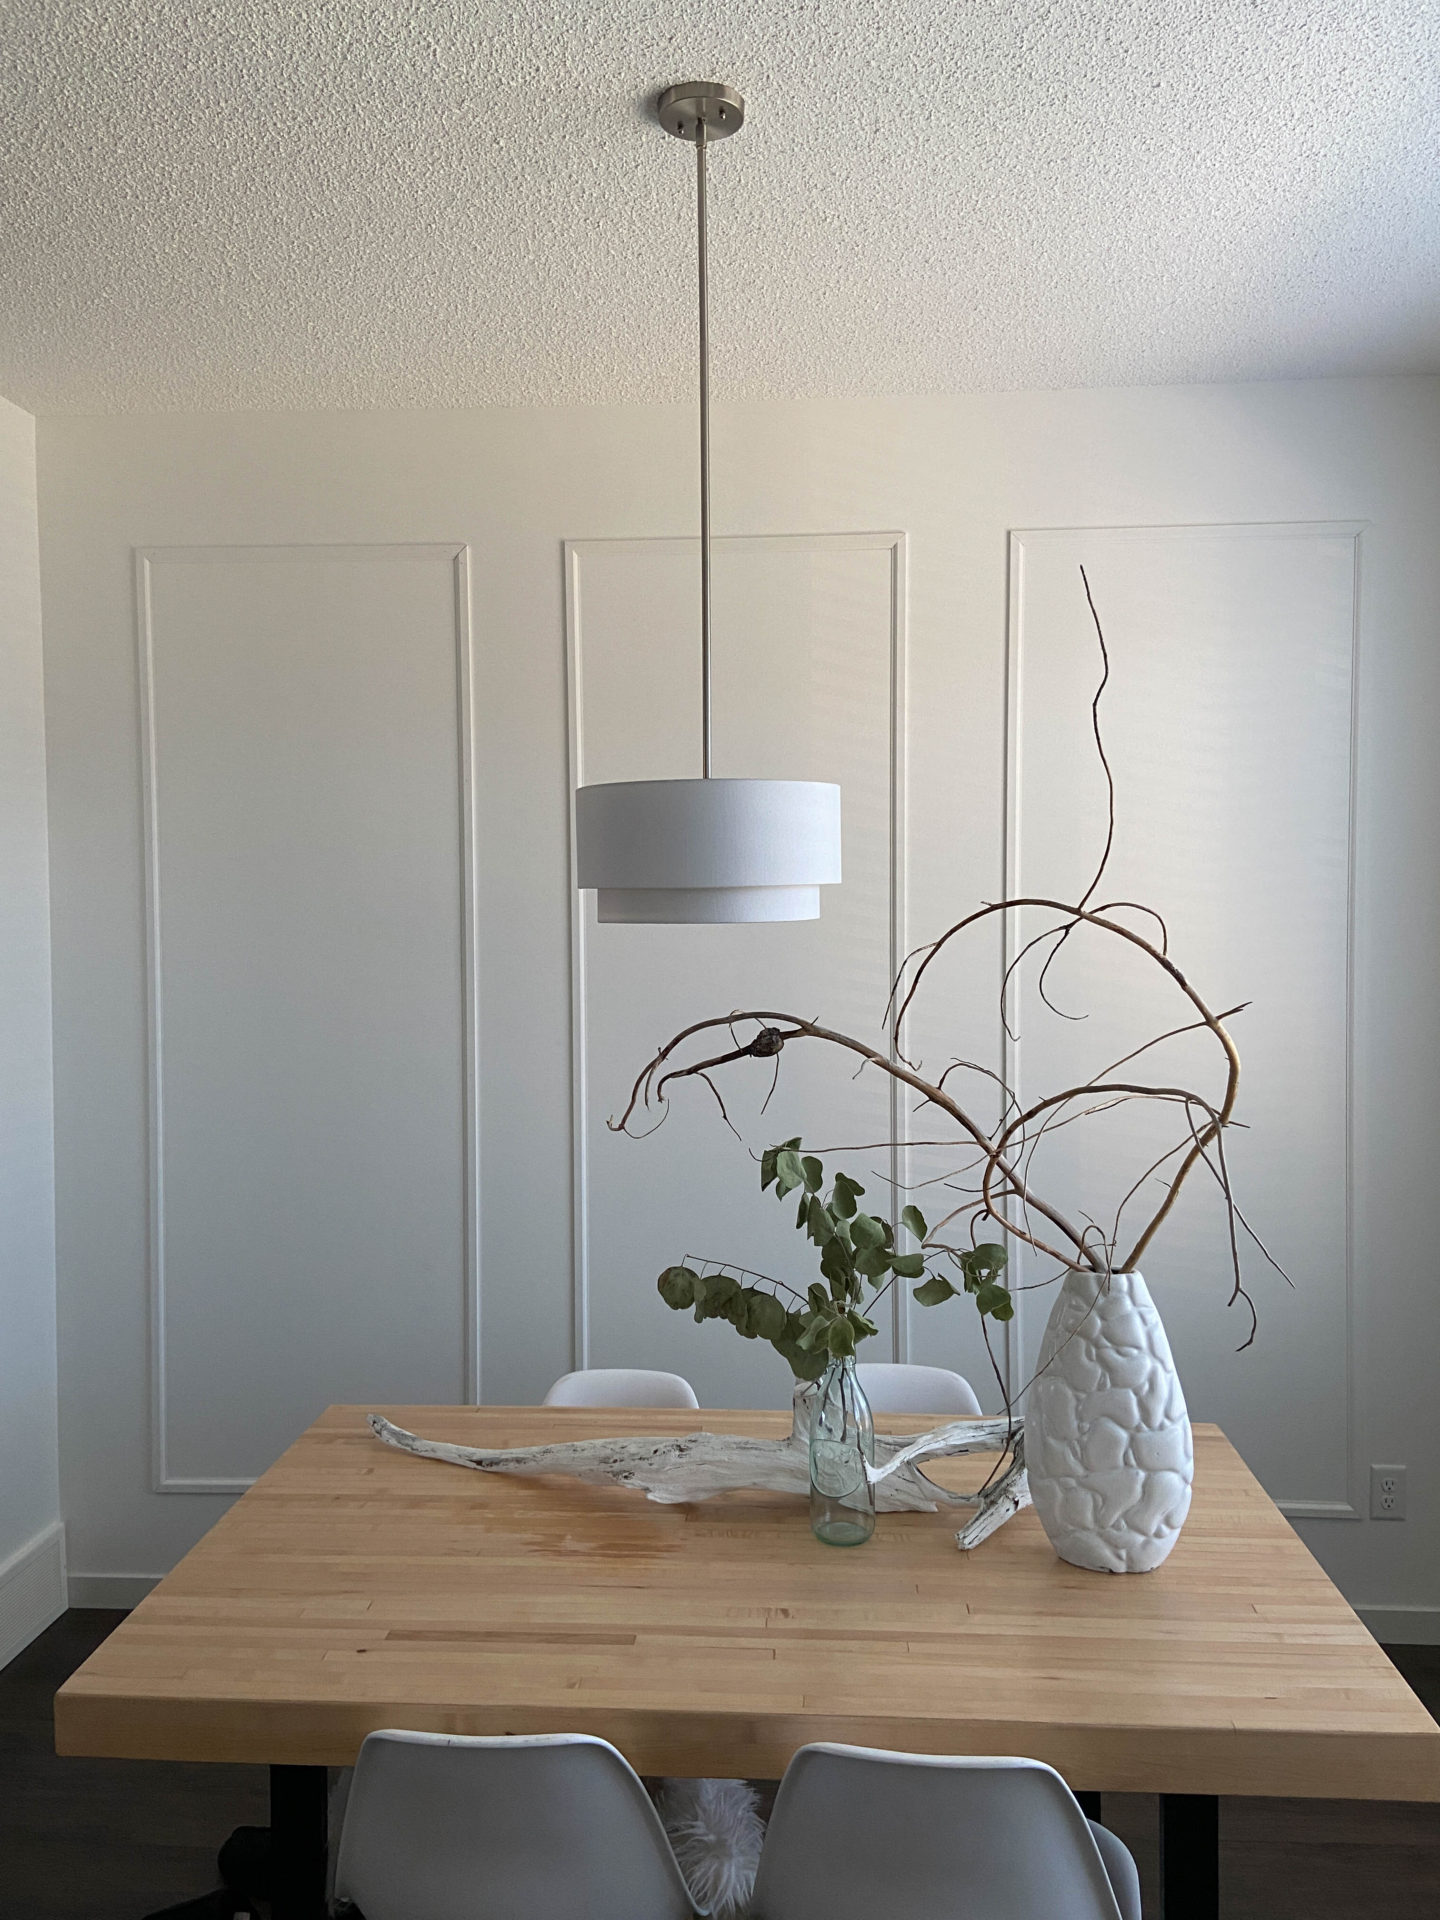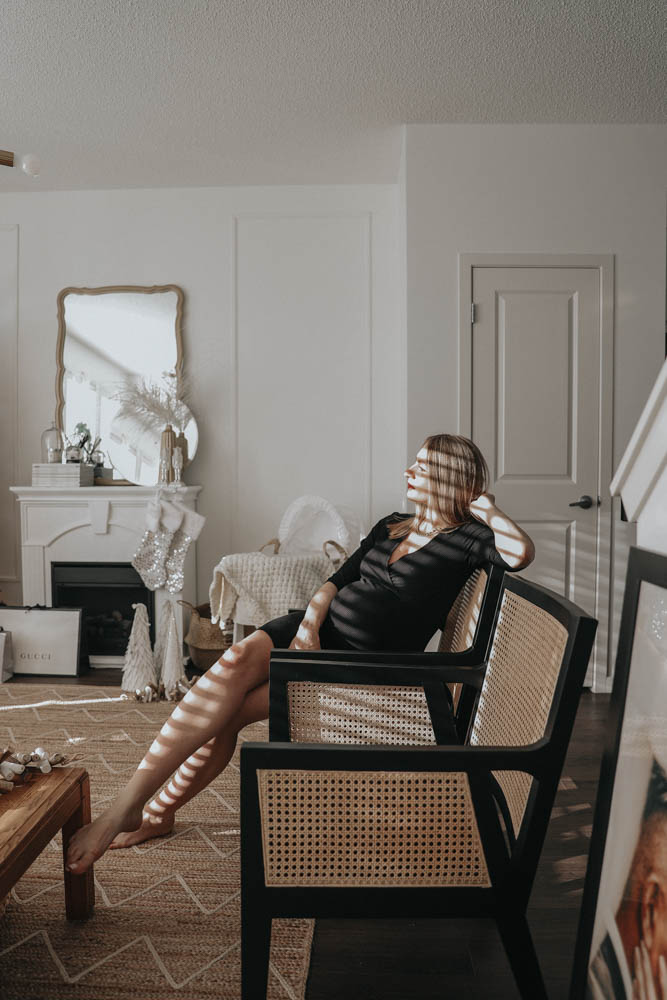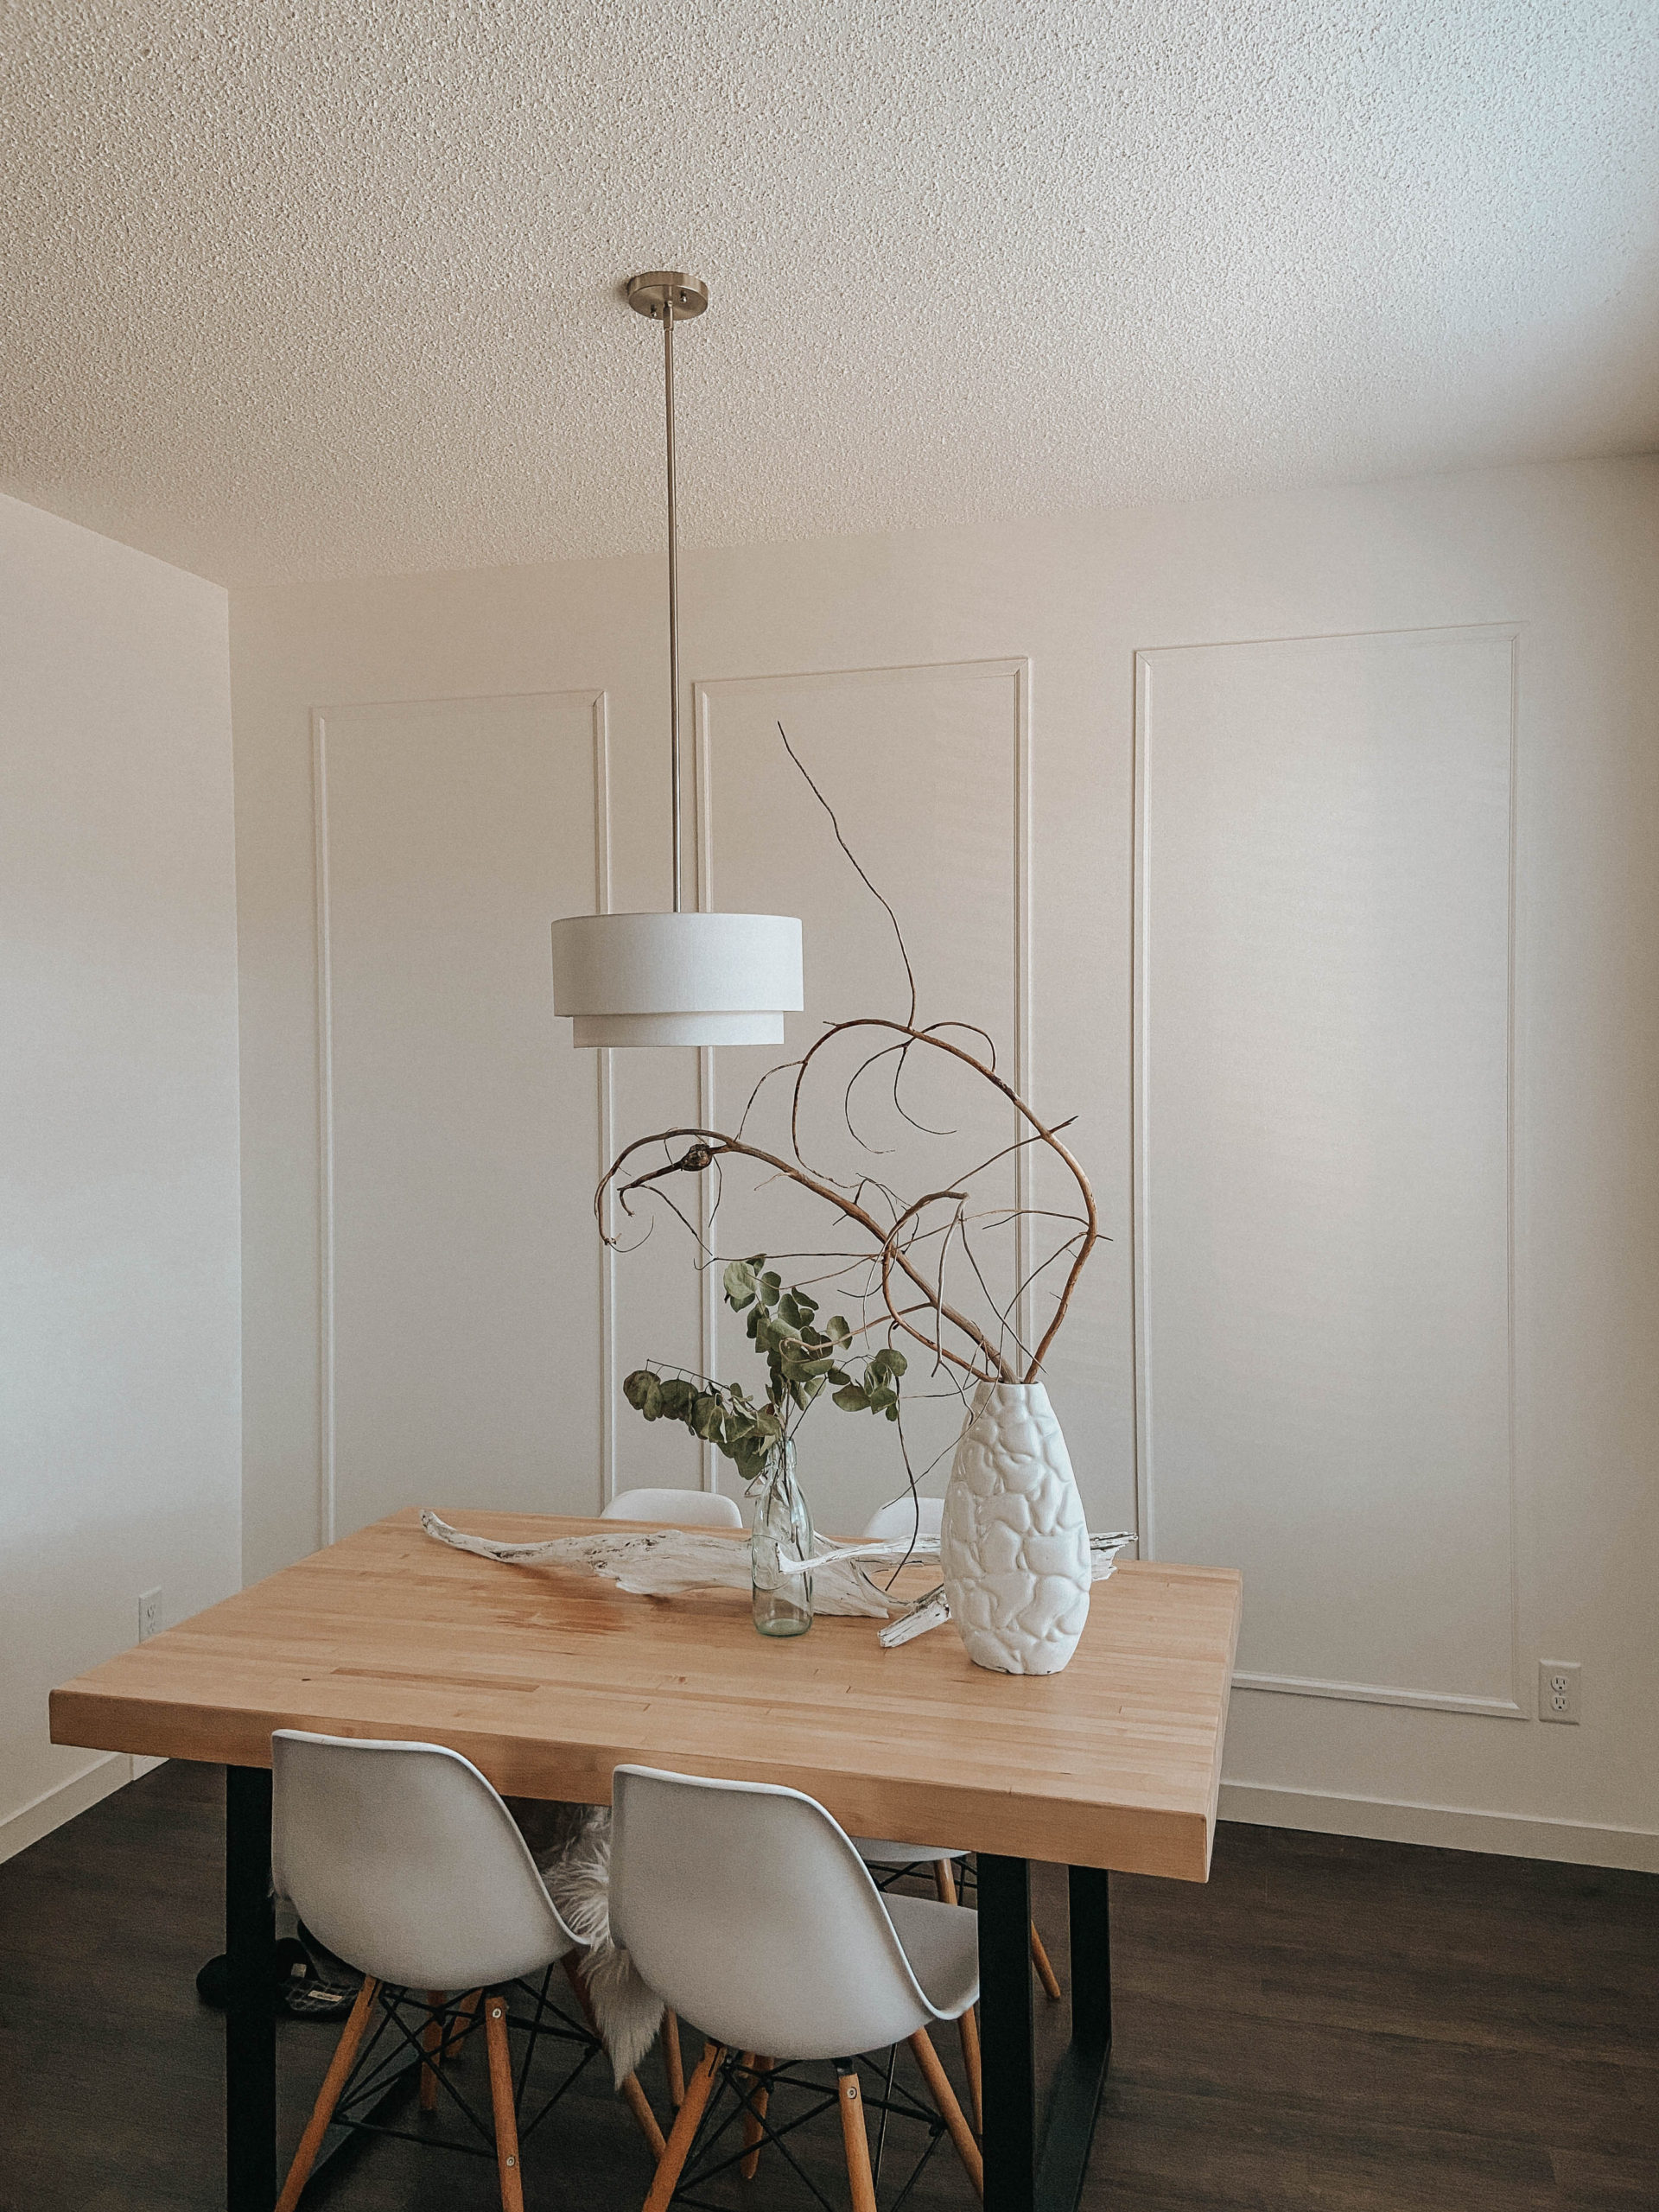
Welcome to another DIY home project. It has been a dream of ours to have wall panelling, or wainscoting in our home but the biggest question always was: "How to do it". We spend hours online but nobody really seems to be giving away a straight forward, step-by-step guide on how to actually get this project done! Well we felt very enthusiastic and just took matters into our own hands and tried it out! Lucky for us, and our walls it turned out great so here are the real step-by-step instructions on DIY Wall Panelling.
DIY Panelling Needs
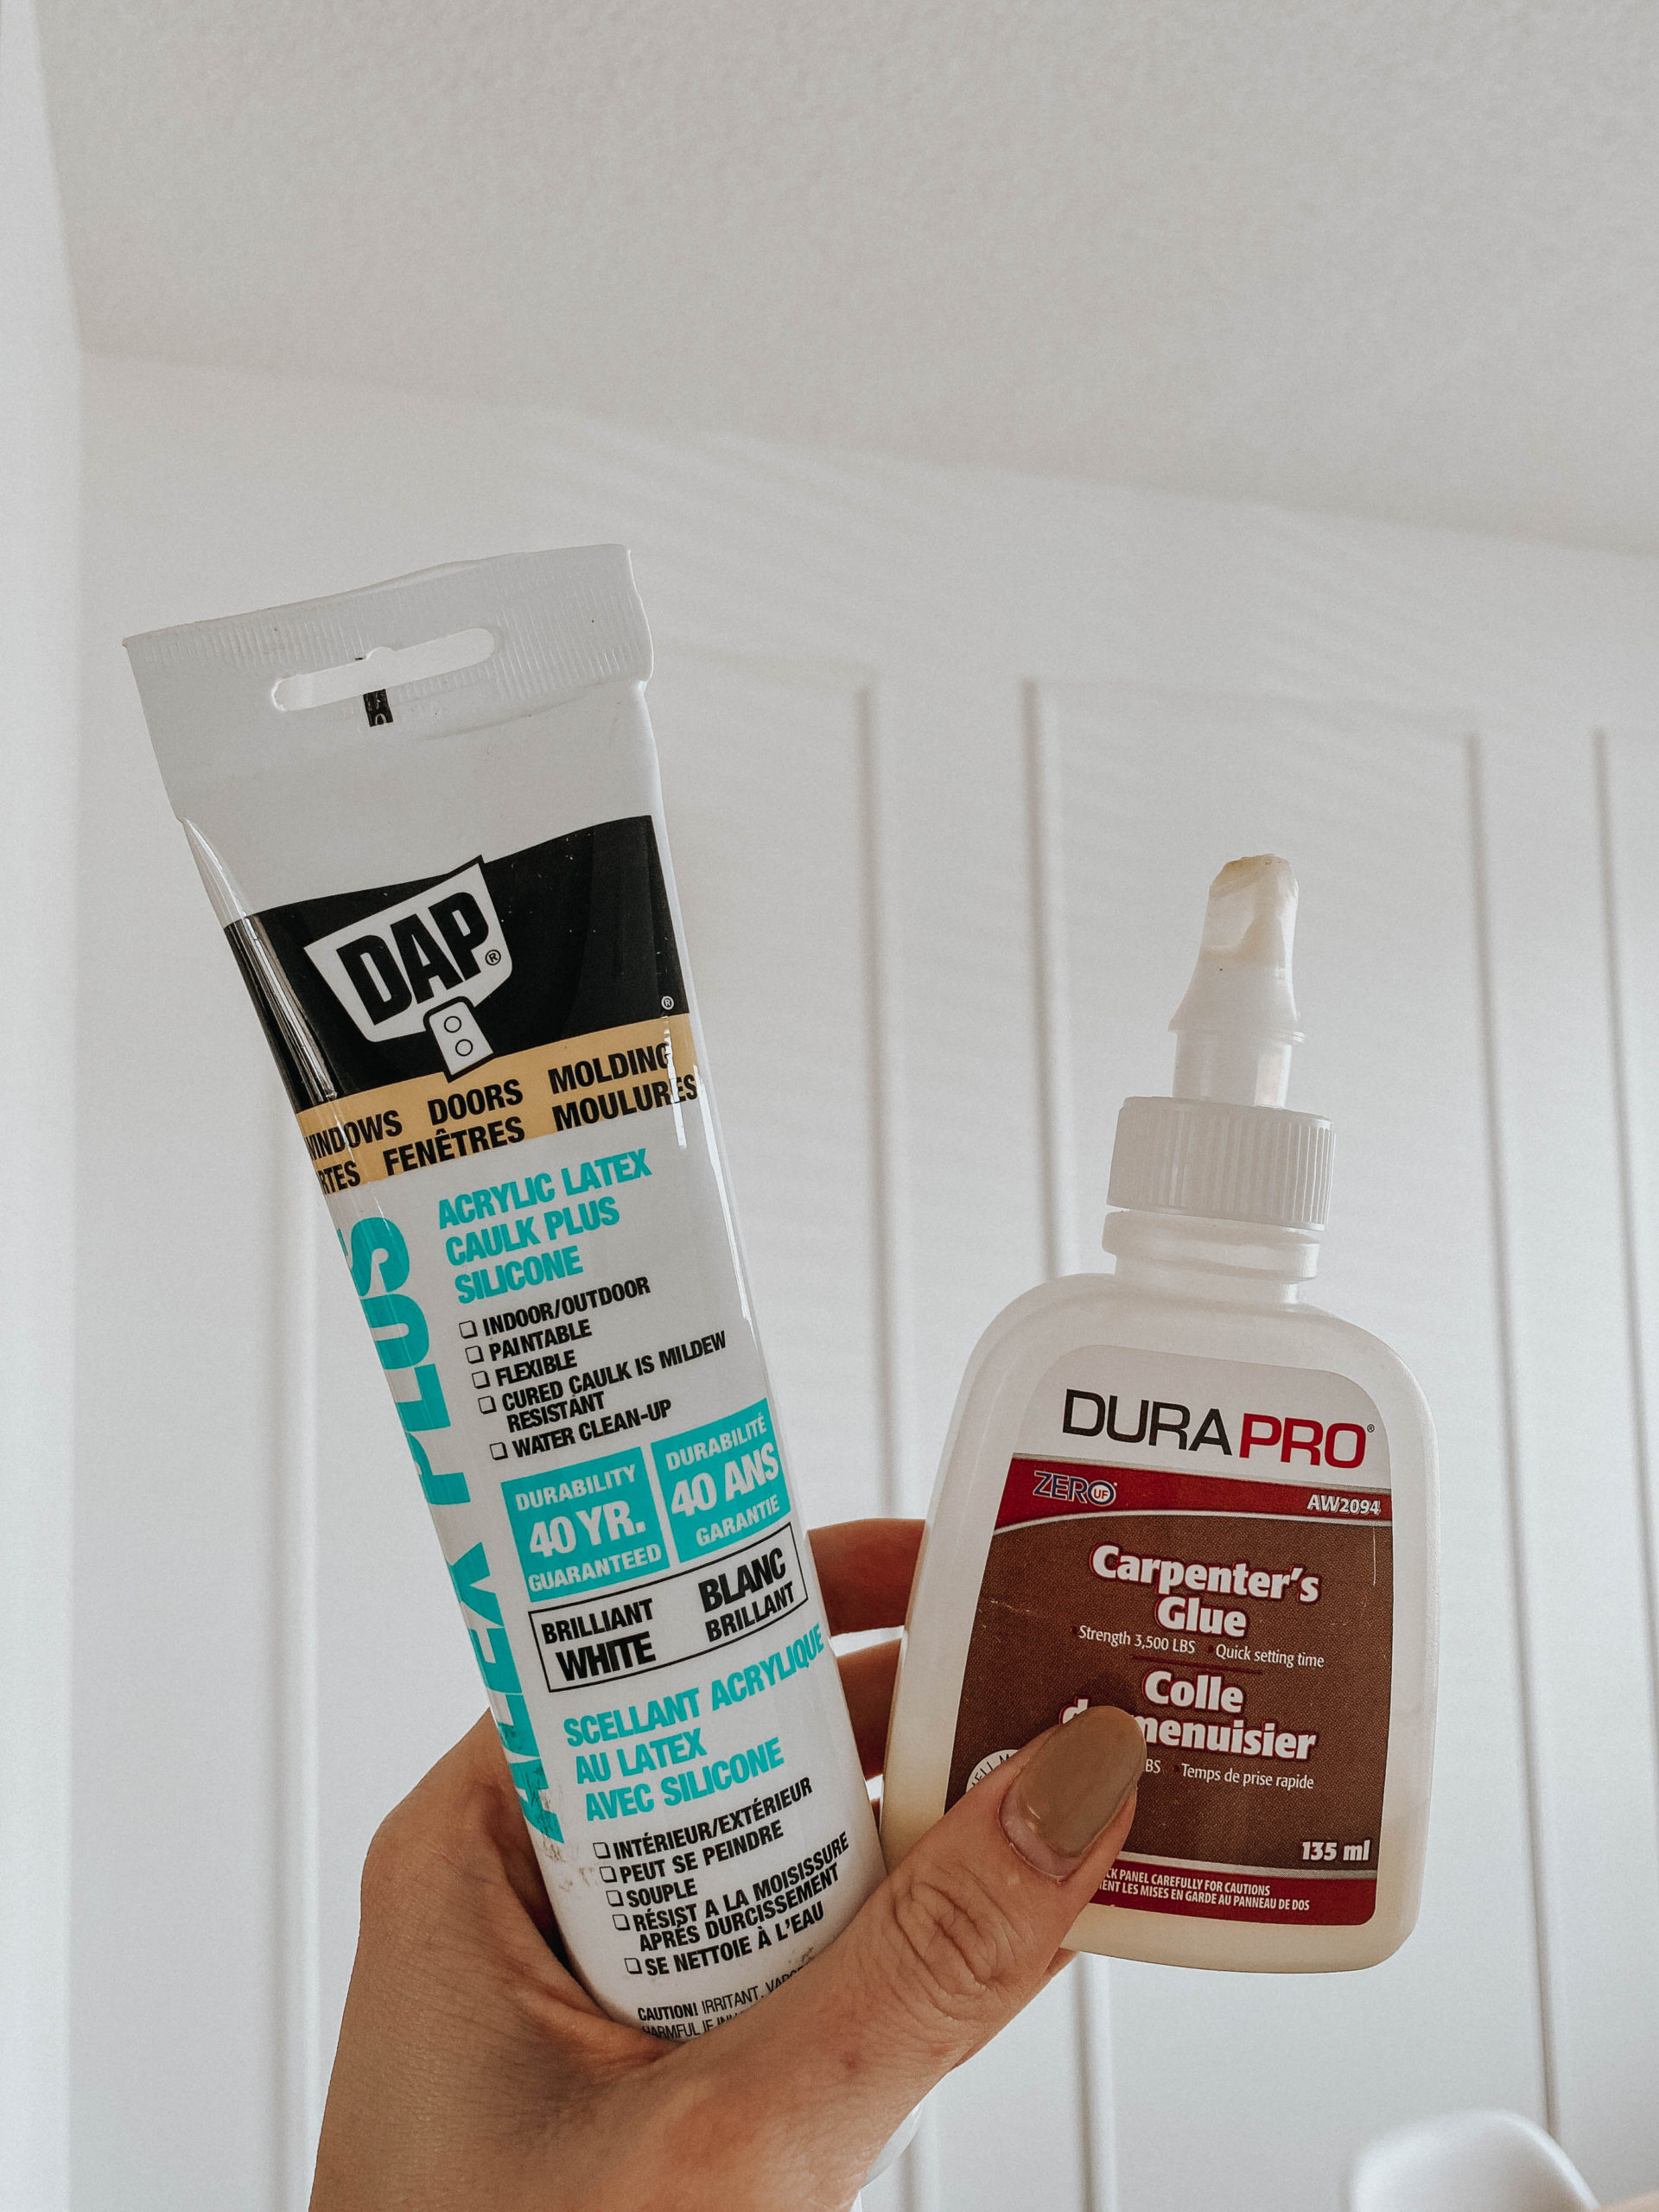
Here is what you will need for your DIY Panelling project. We placed an online order at a home improvement store for all of these supplies, super easy and convenient. The list is not long:
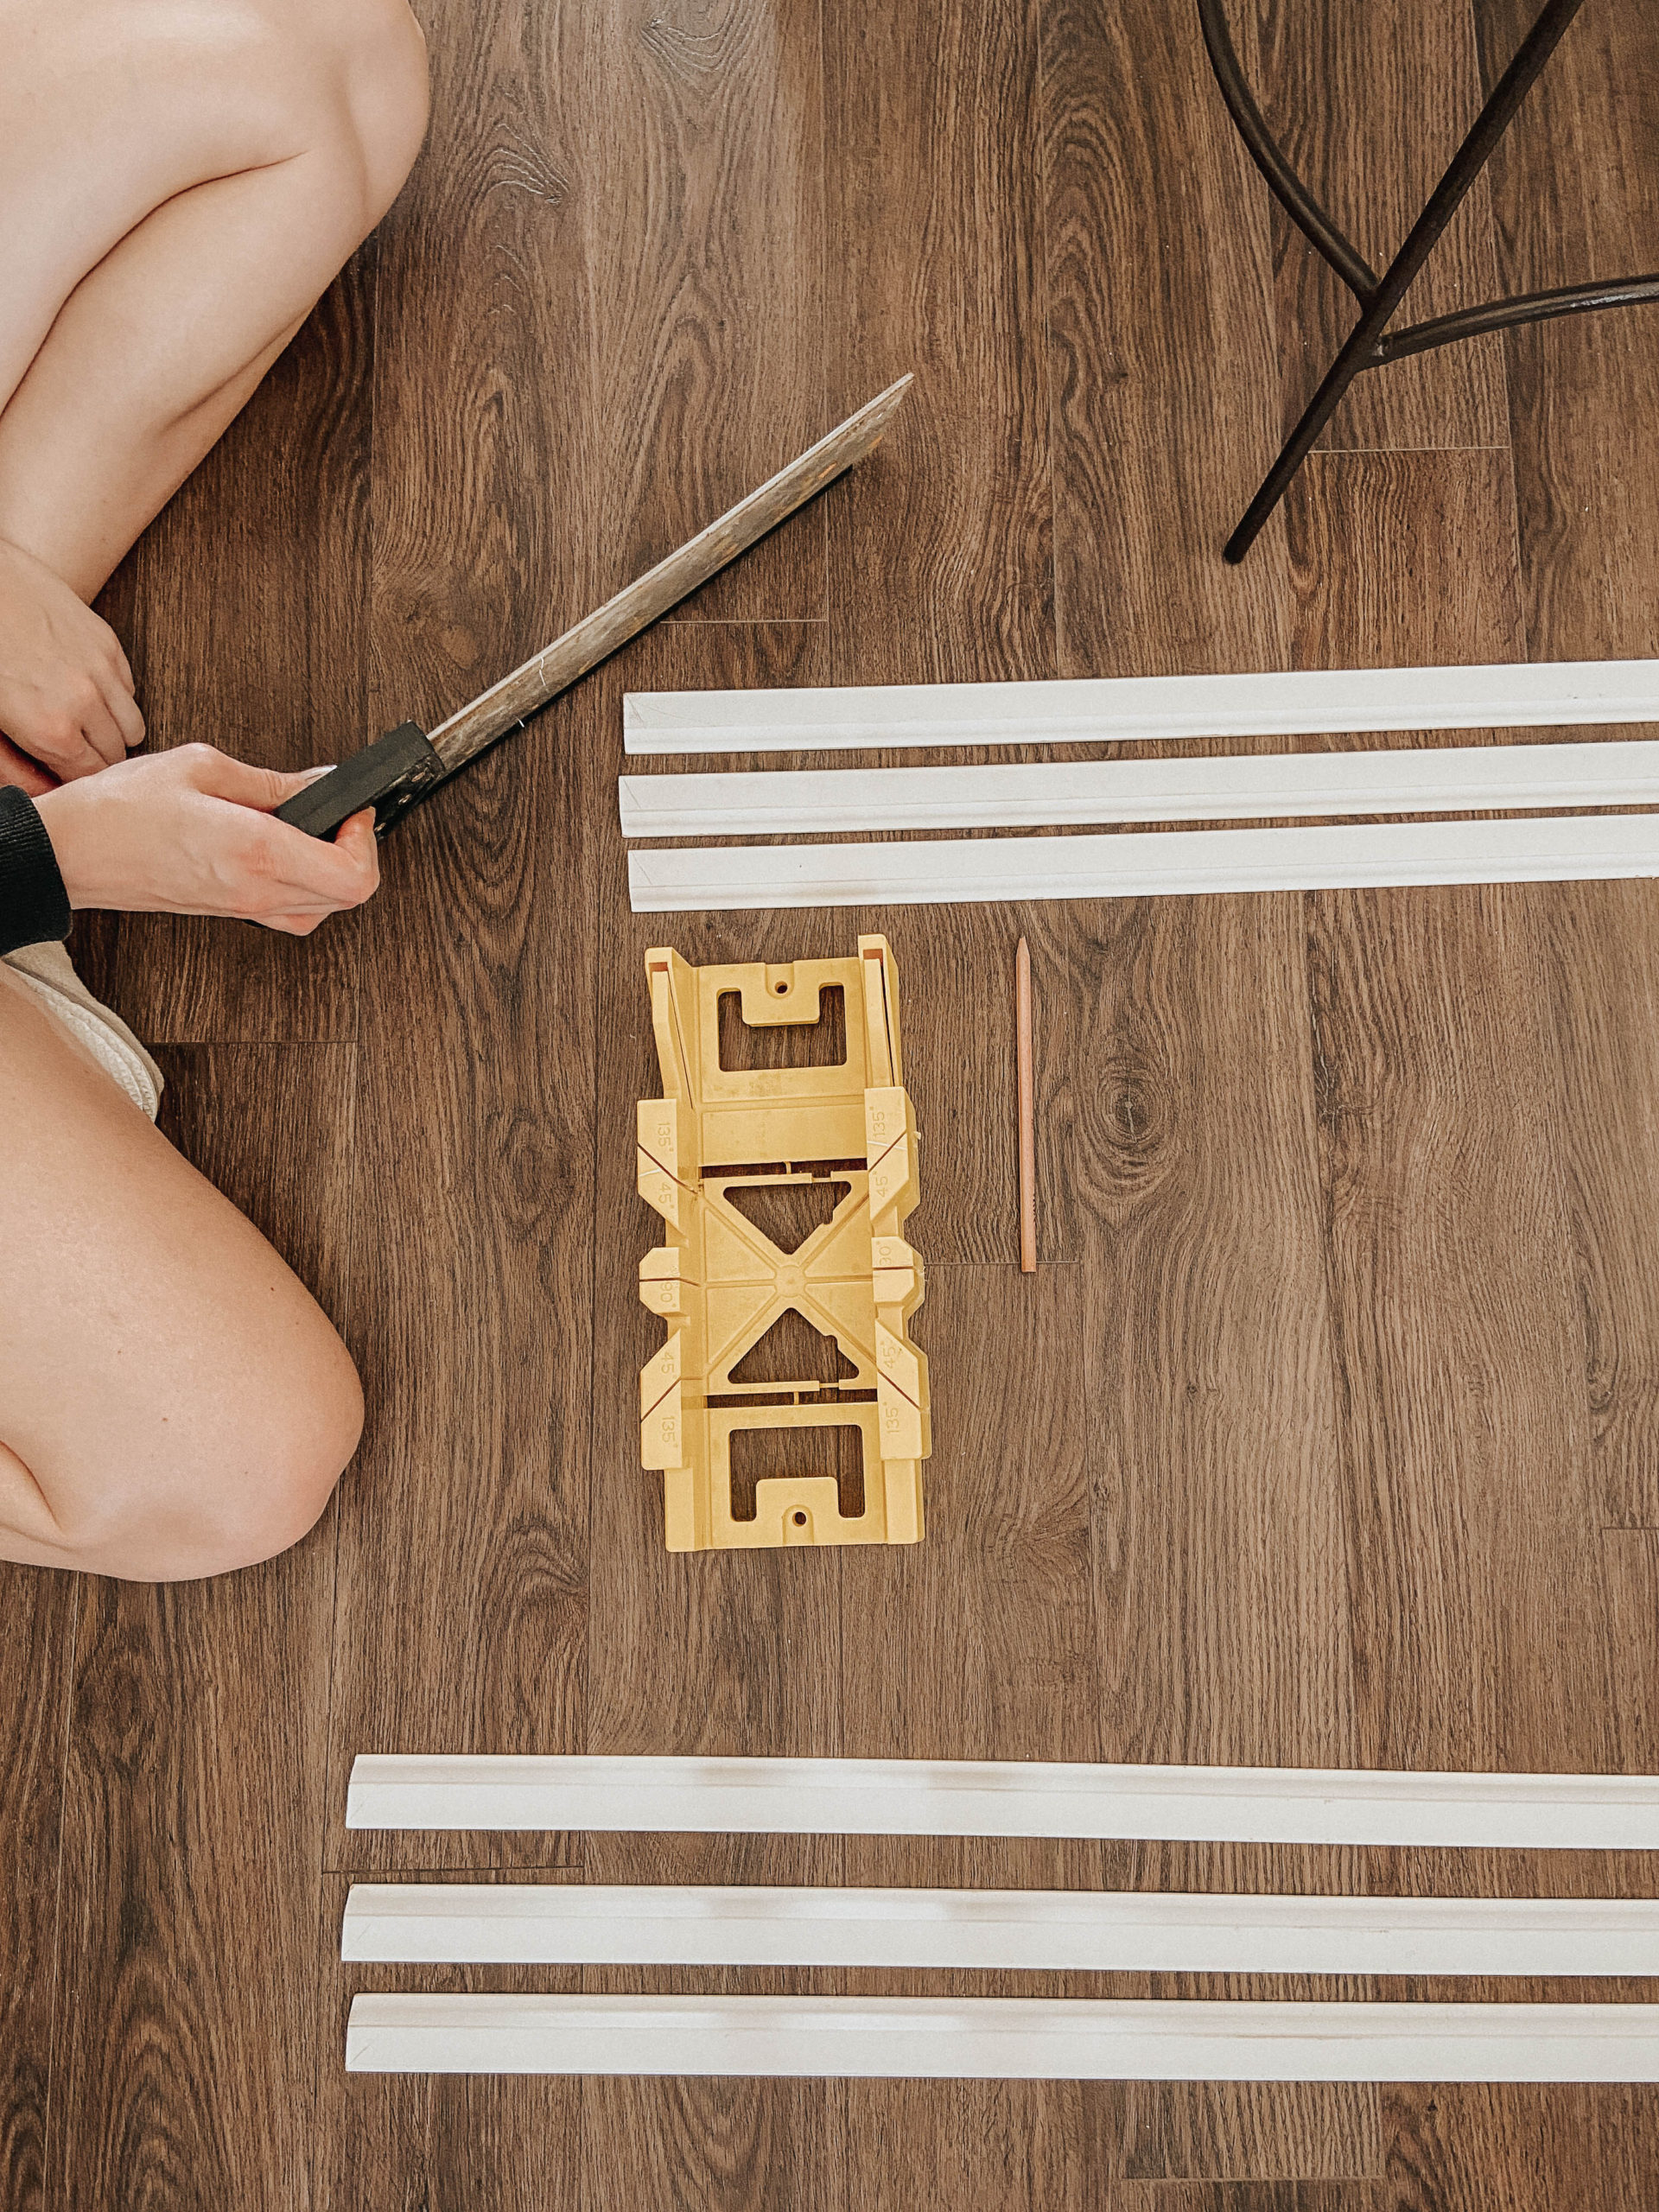
- Wood saw with angle bracket
- Wood panelling (moulding)
- Sand paper
- Paint Brush
- Paint (we used the same colour as the wall to get a subtle effect)
- Wood Glue
- Caulking
1. Plan out your Space
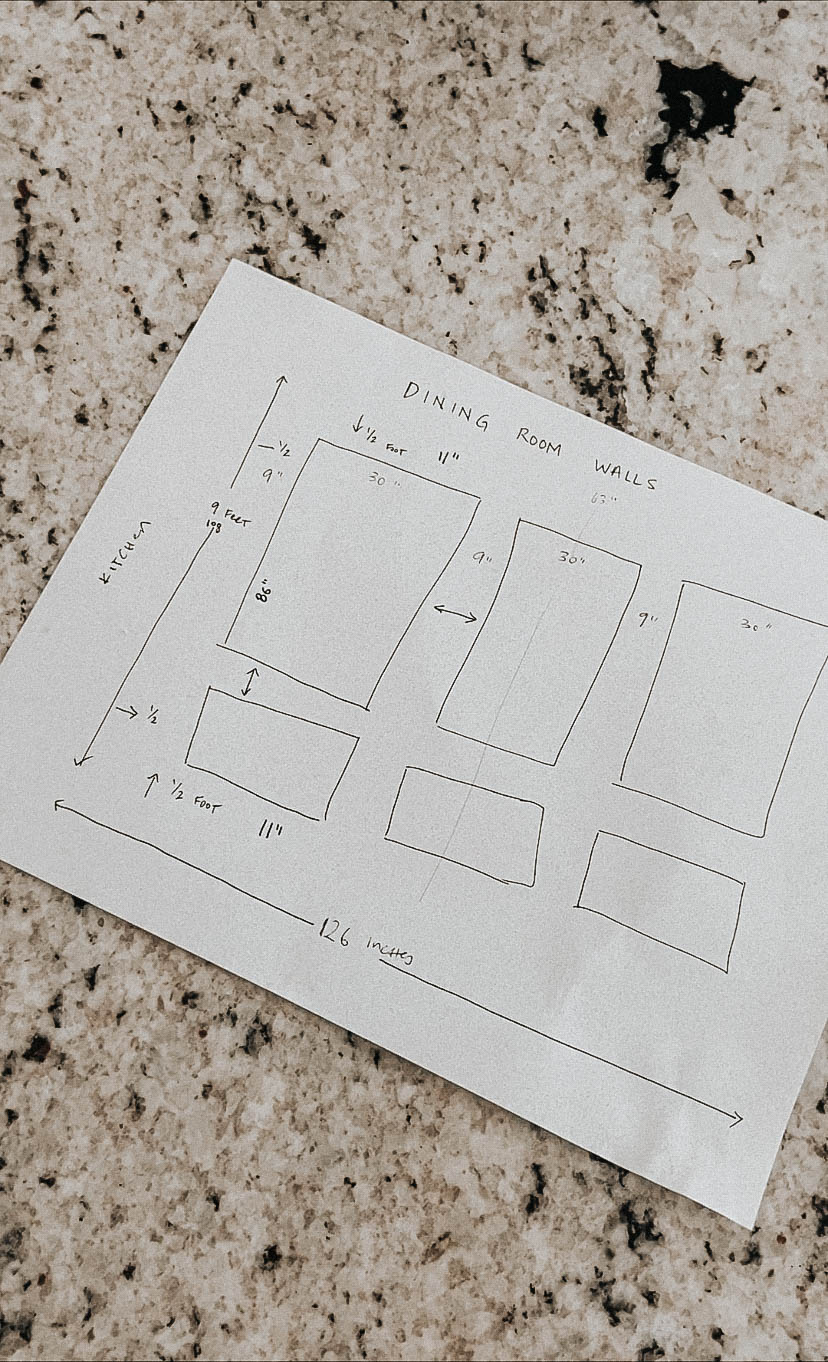
The first and most important step in this whole project is to carefully measure out your space. How many panels are you wanting to create? How tall and wide should they be? How can you make them centred - triple check this because it will make the entire project either look luxe or trashy!
As you can see, we planned our project a little different with large panels on the top, and smaller panels on the bottom but changed our plan because of the placement of the electric outlets. Overall the large panels look amazing
2. Measure & Cut
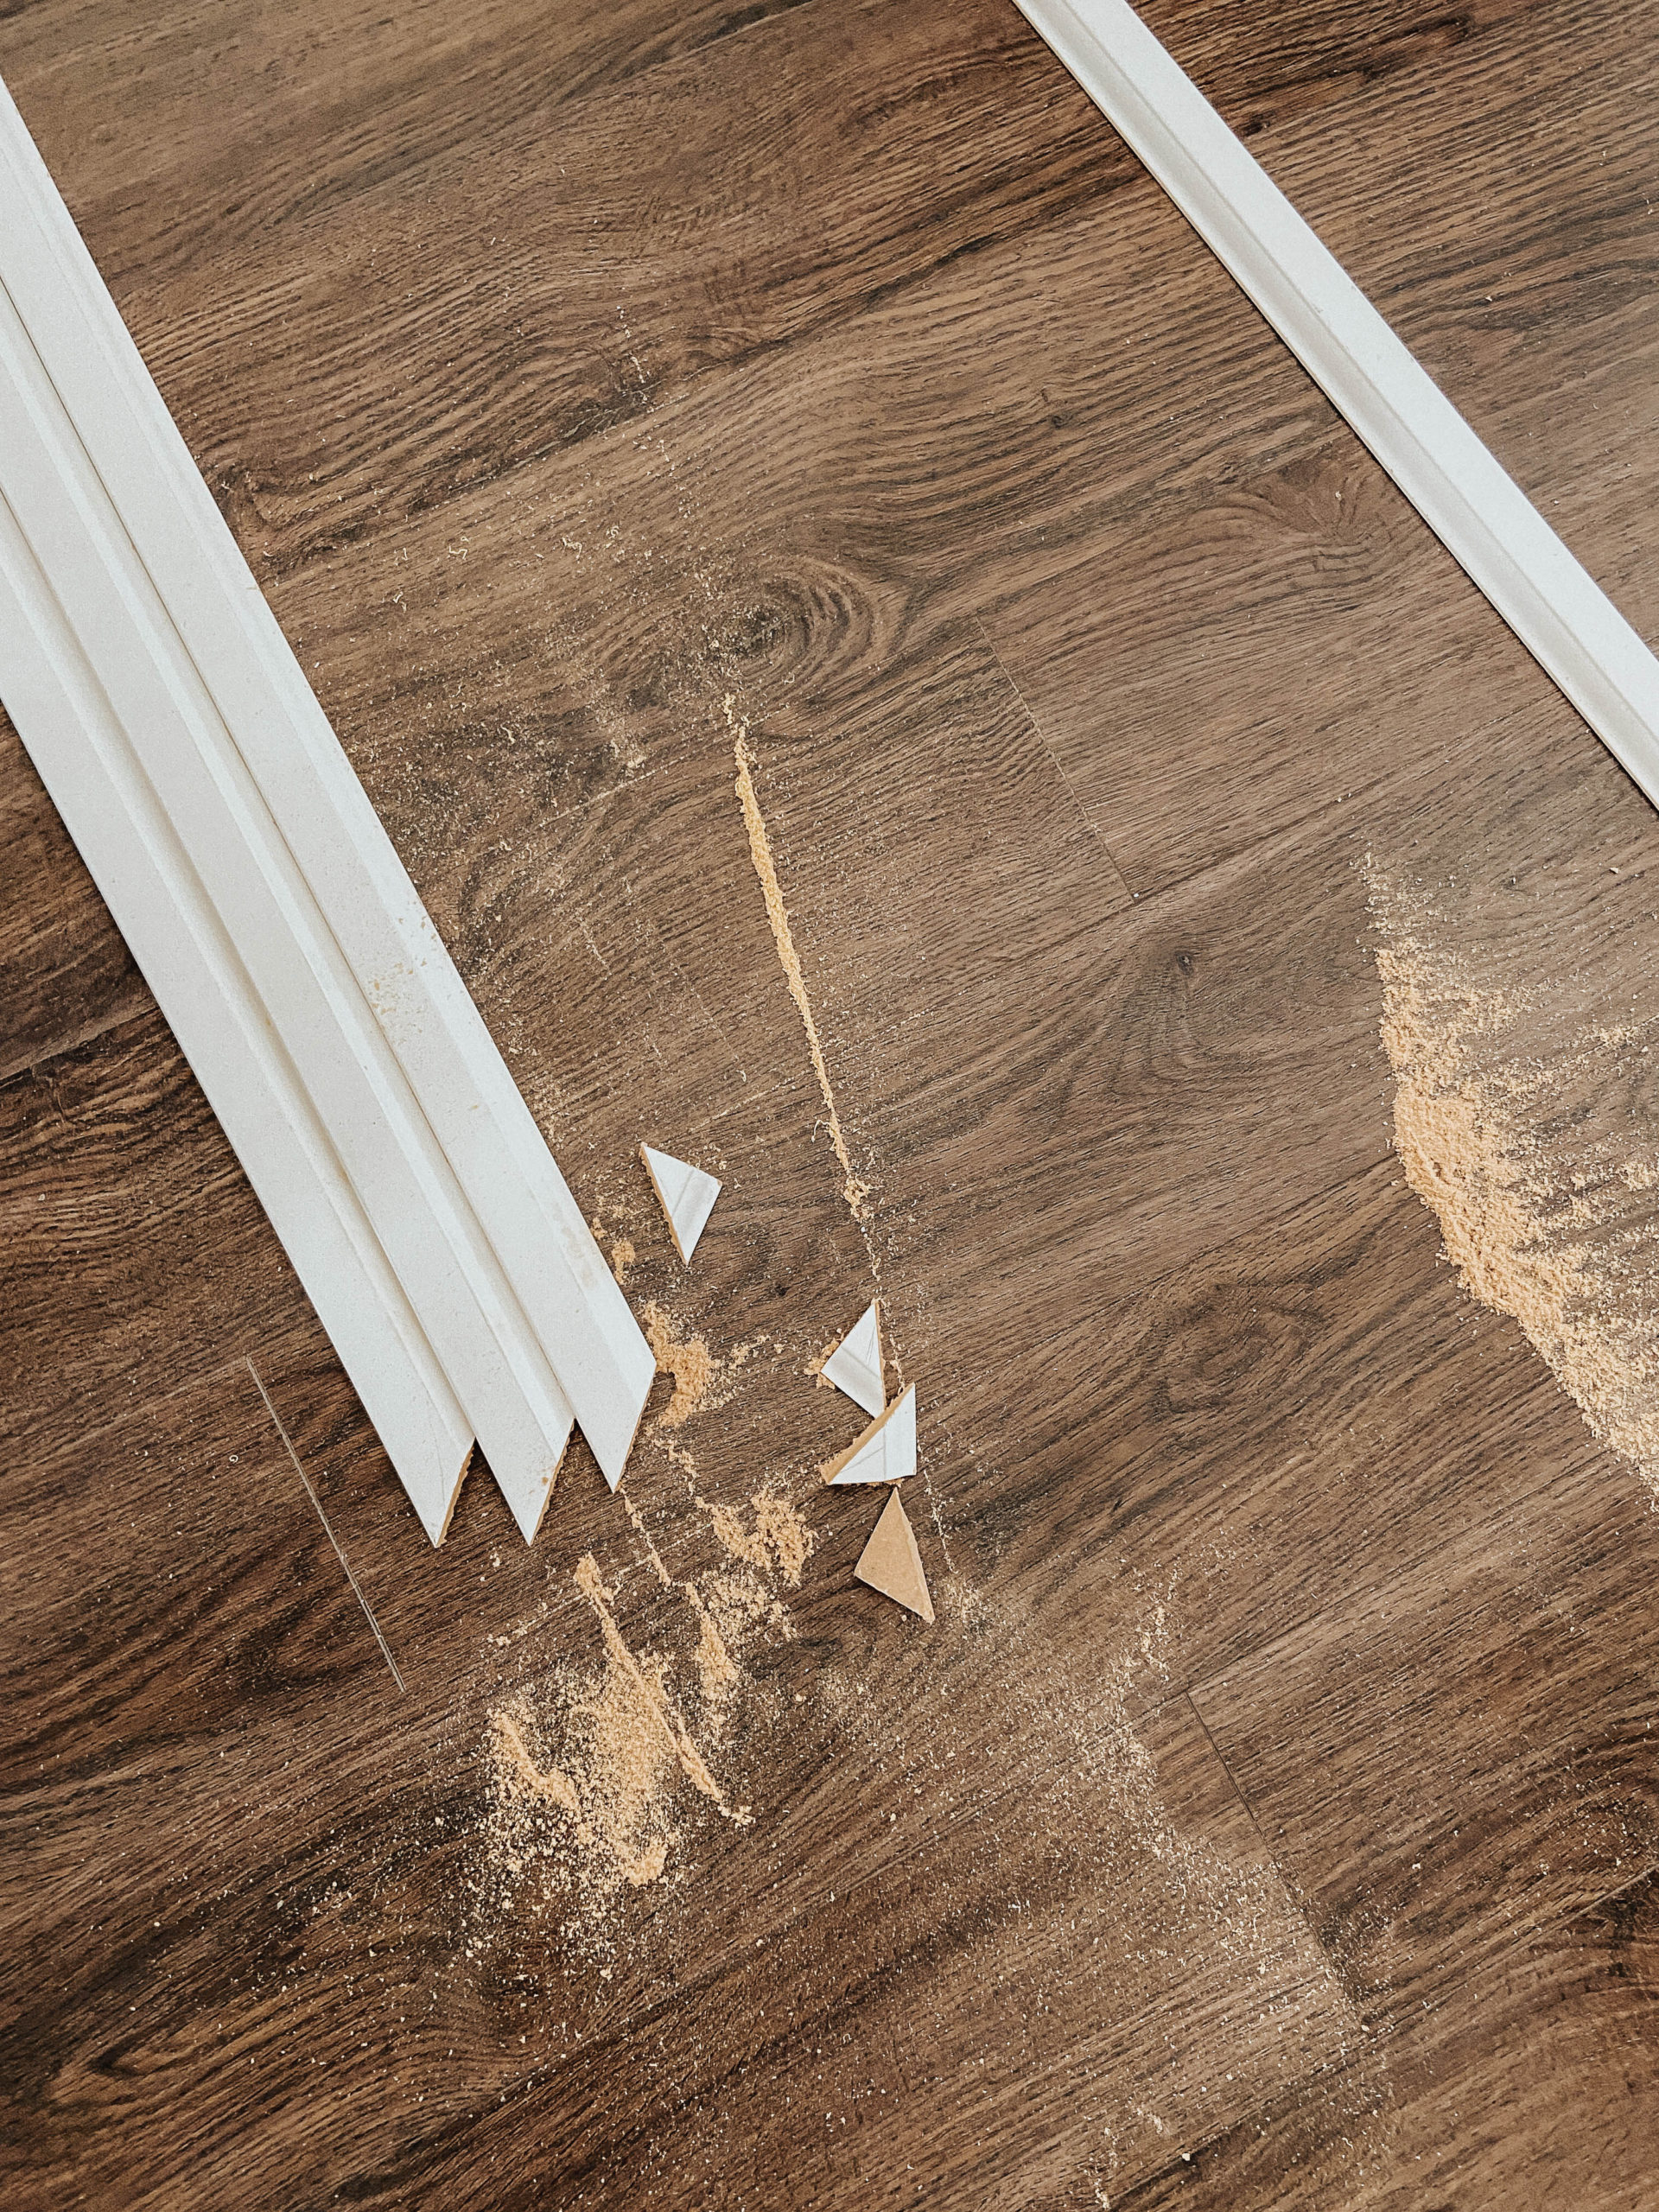
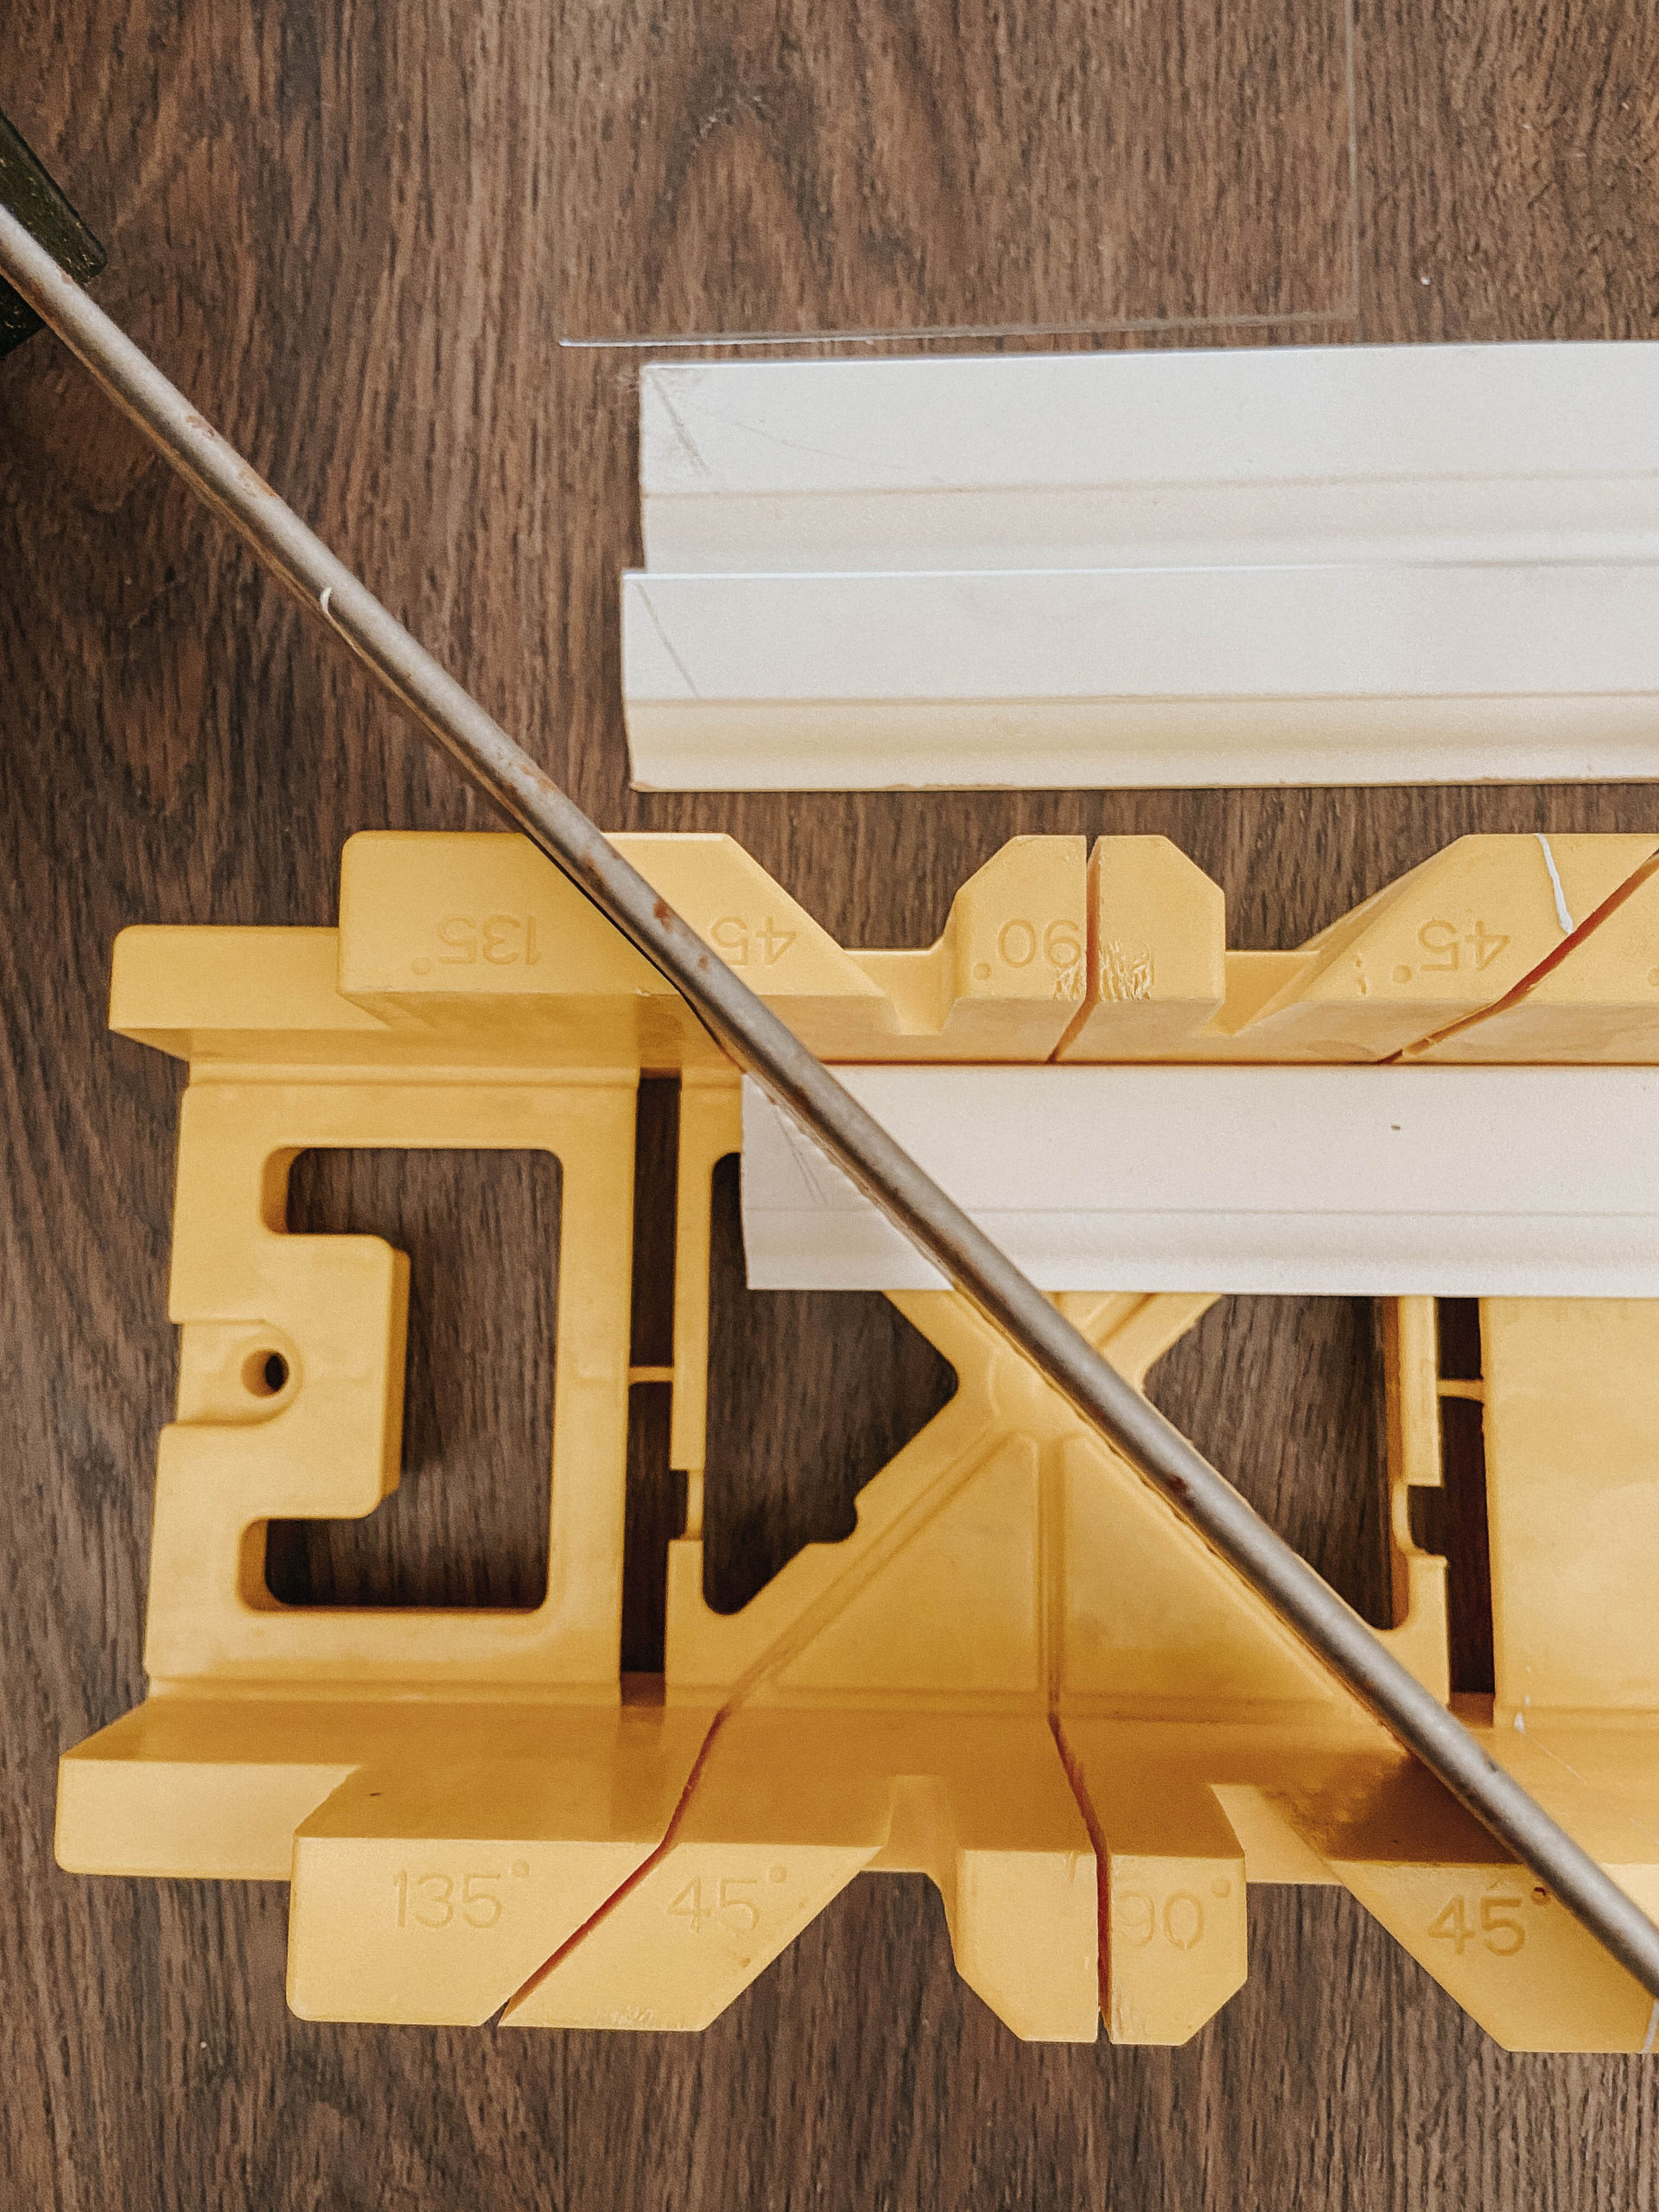
Based on your project plan, measure out all your pieces. I suggest to use cm measurements as you have to be very exact to make sure to create a 90 degree angle in the corners. Cut all of your pieces with the help of the bracket (don't cheap out on this, it will save your life!). It is actually pretty easy to cut so do not be afraid of this step.
3. Prep & Paint
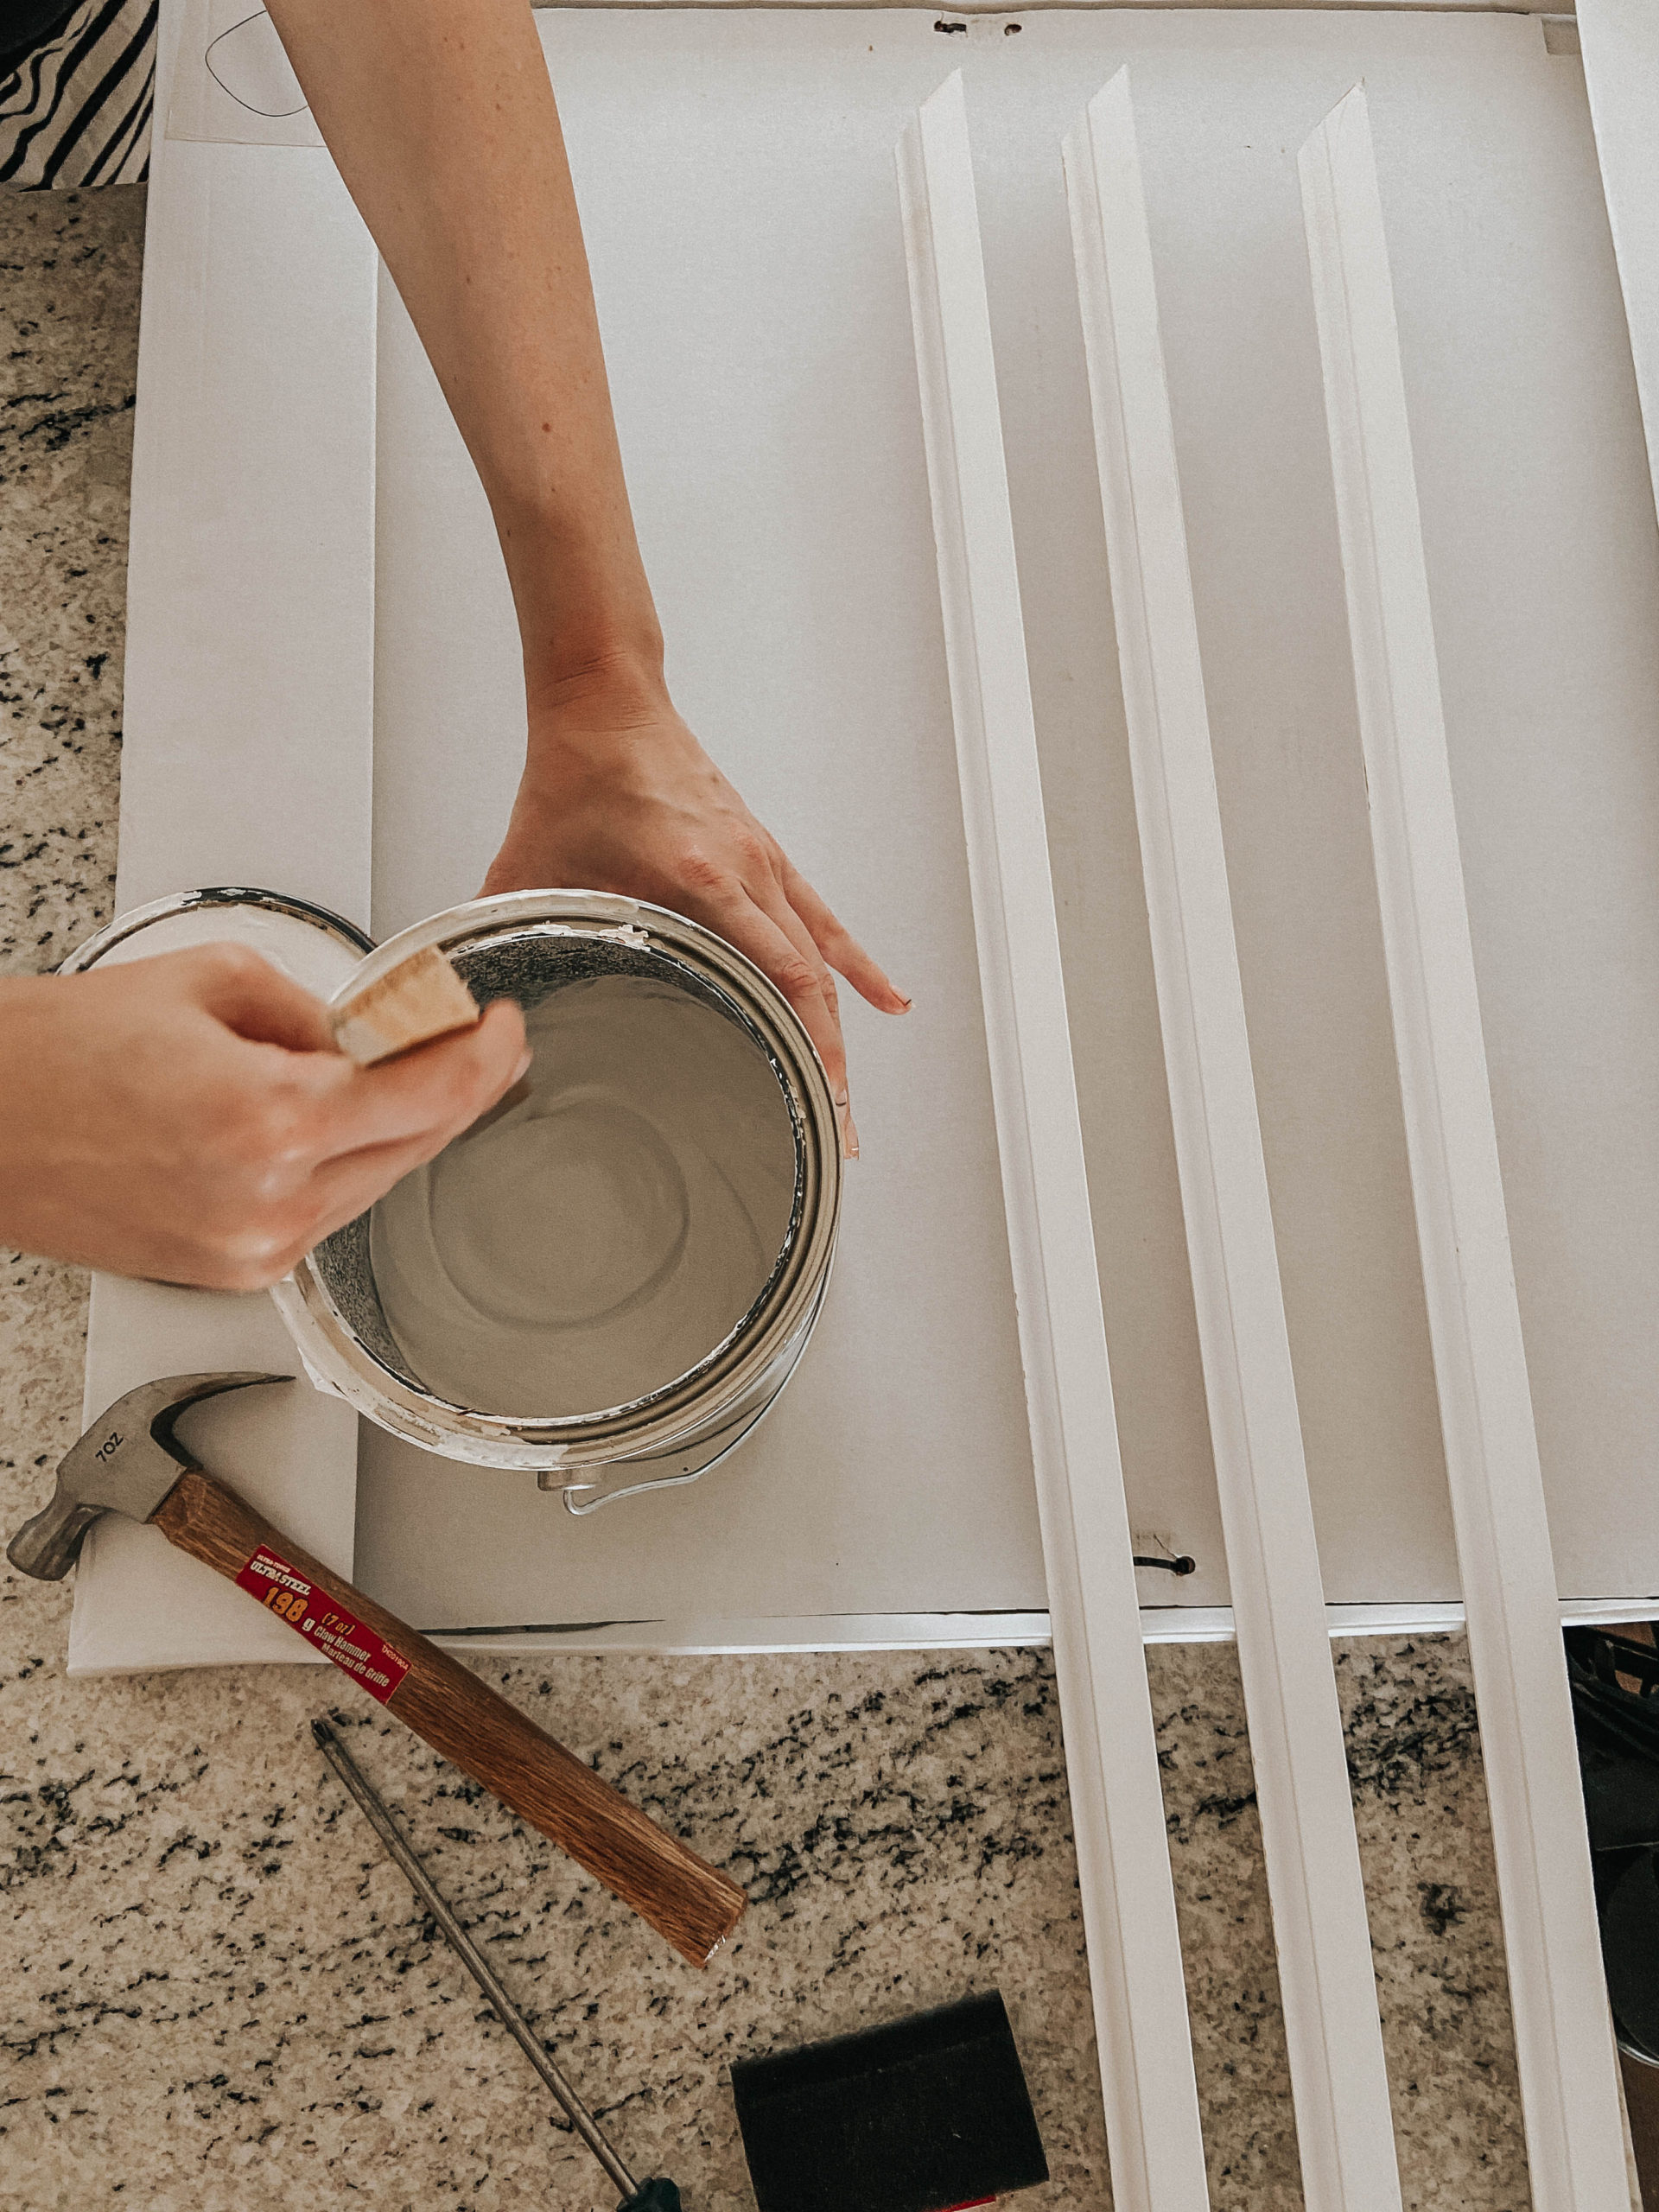
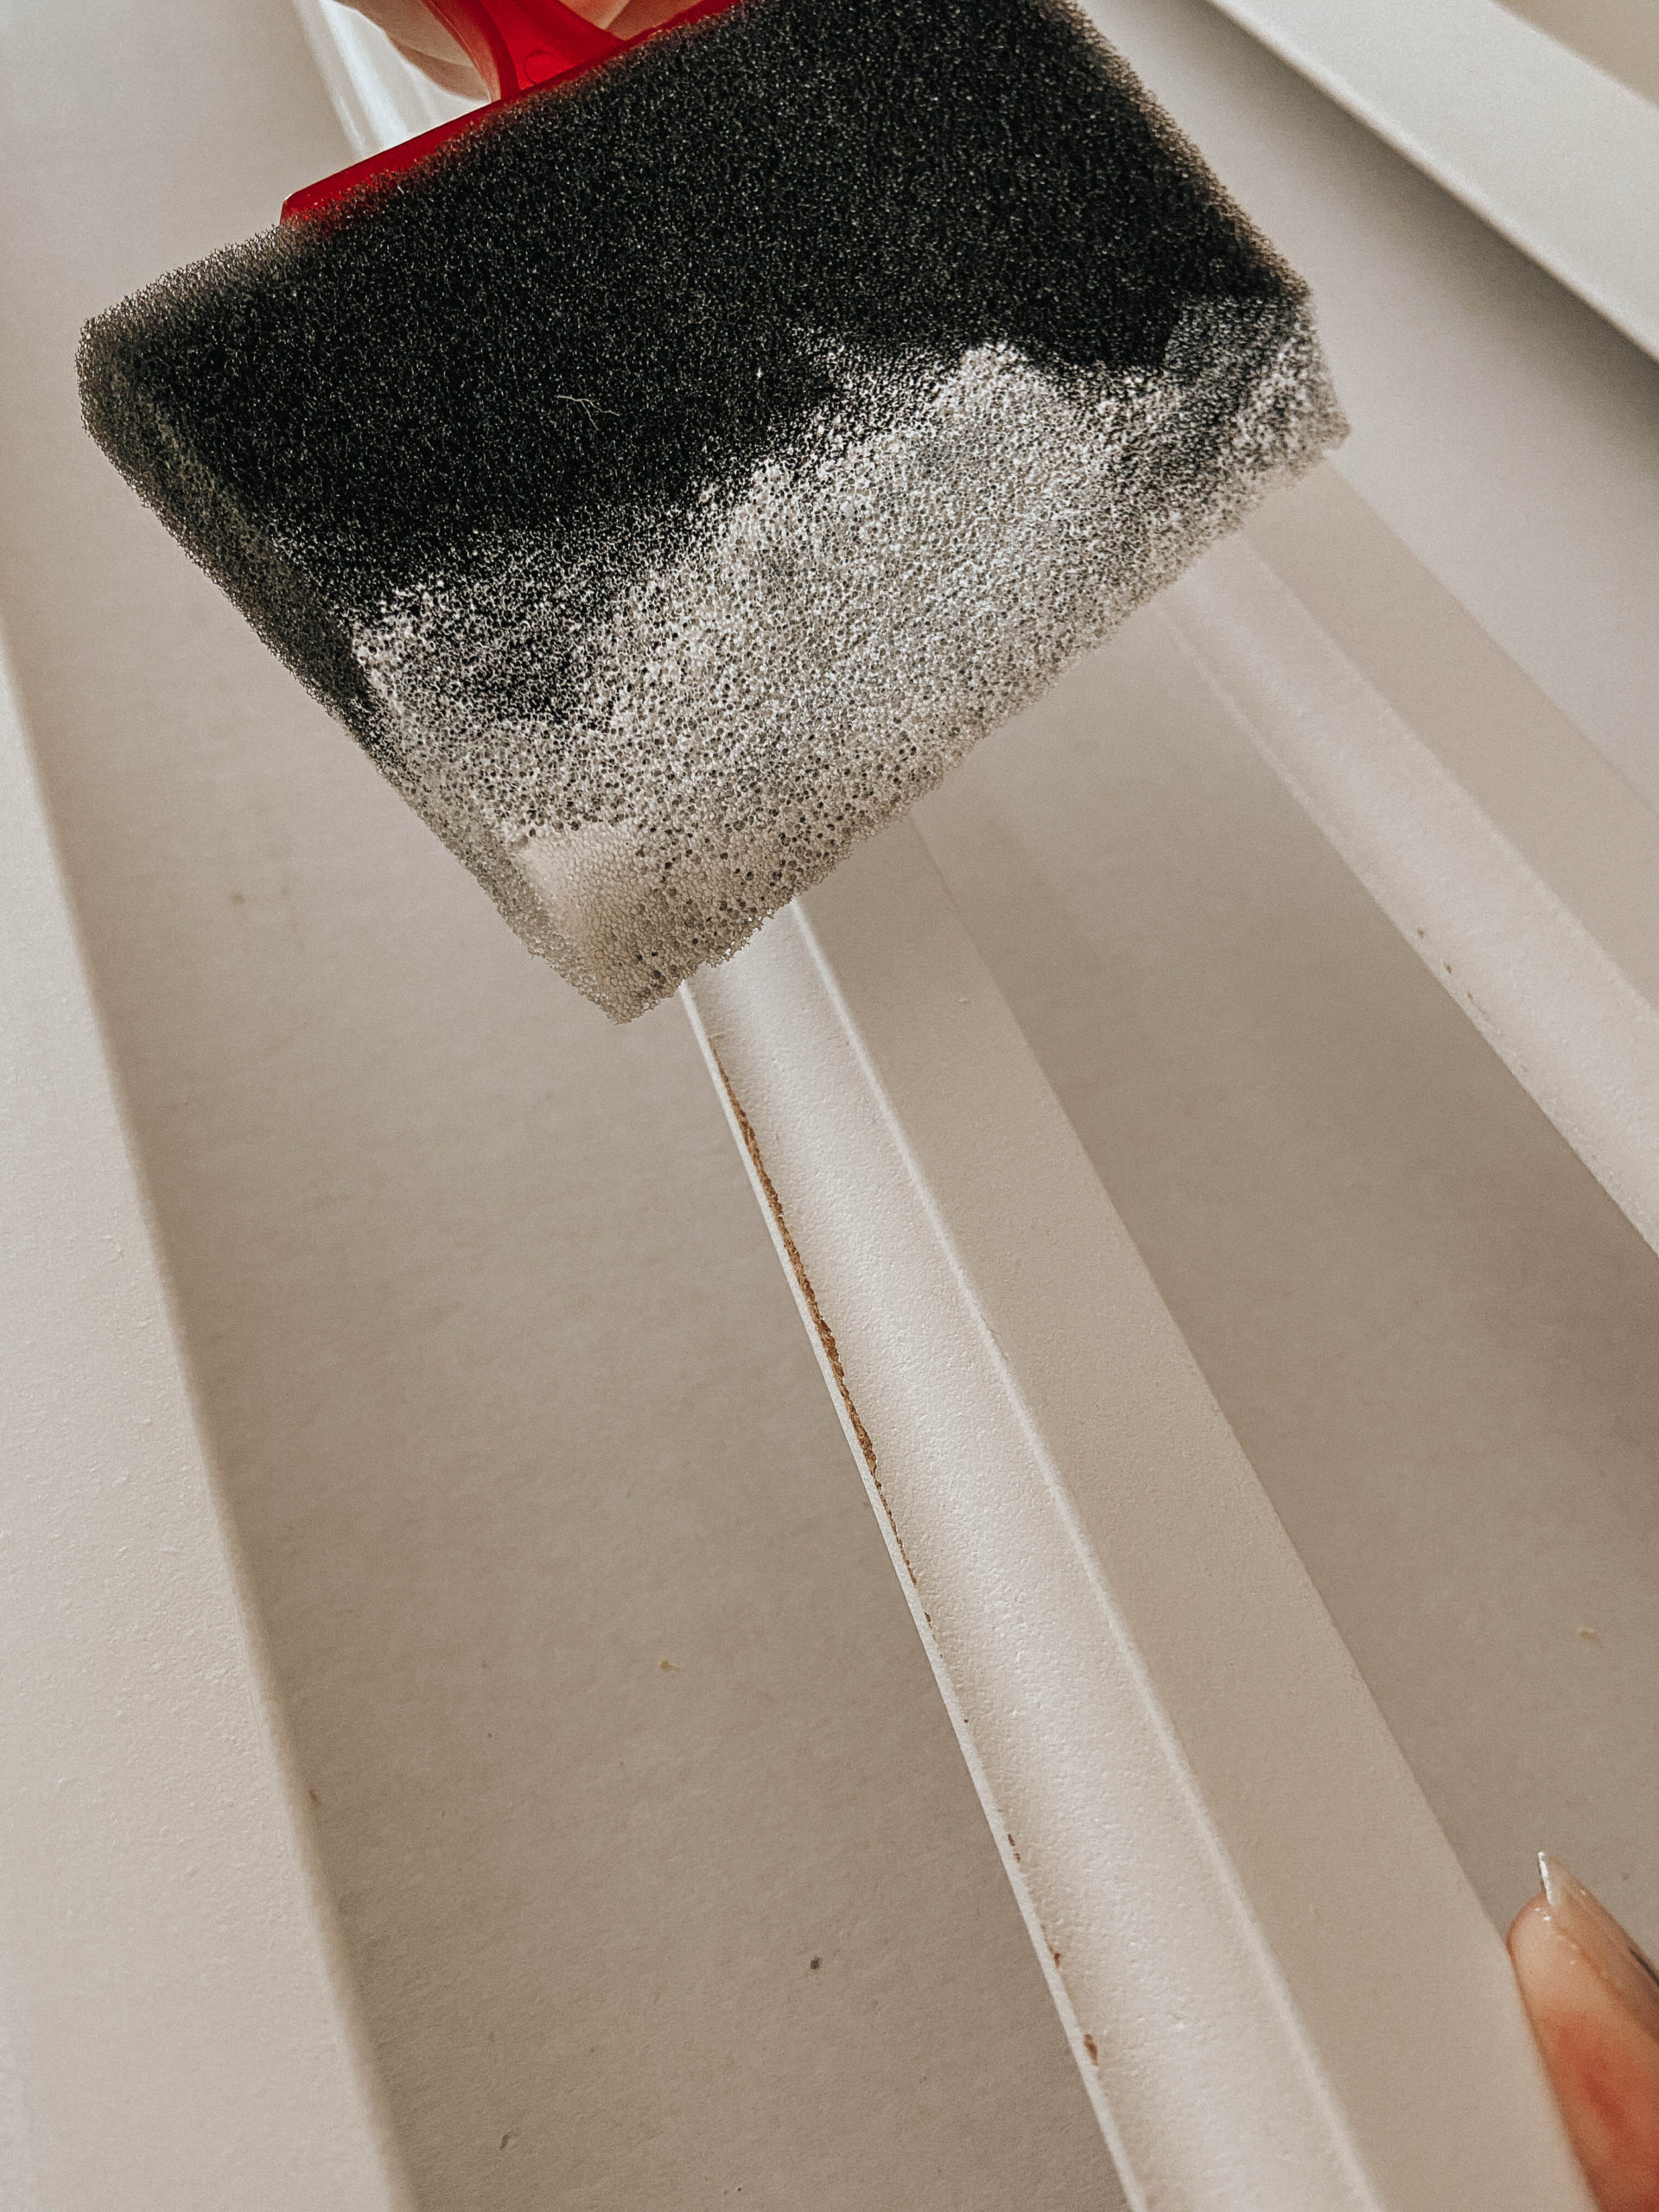
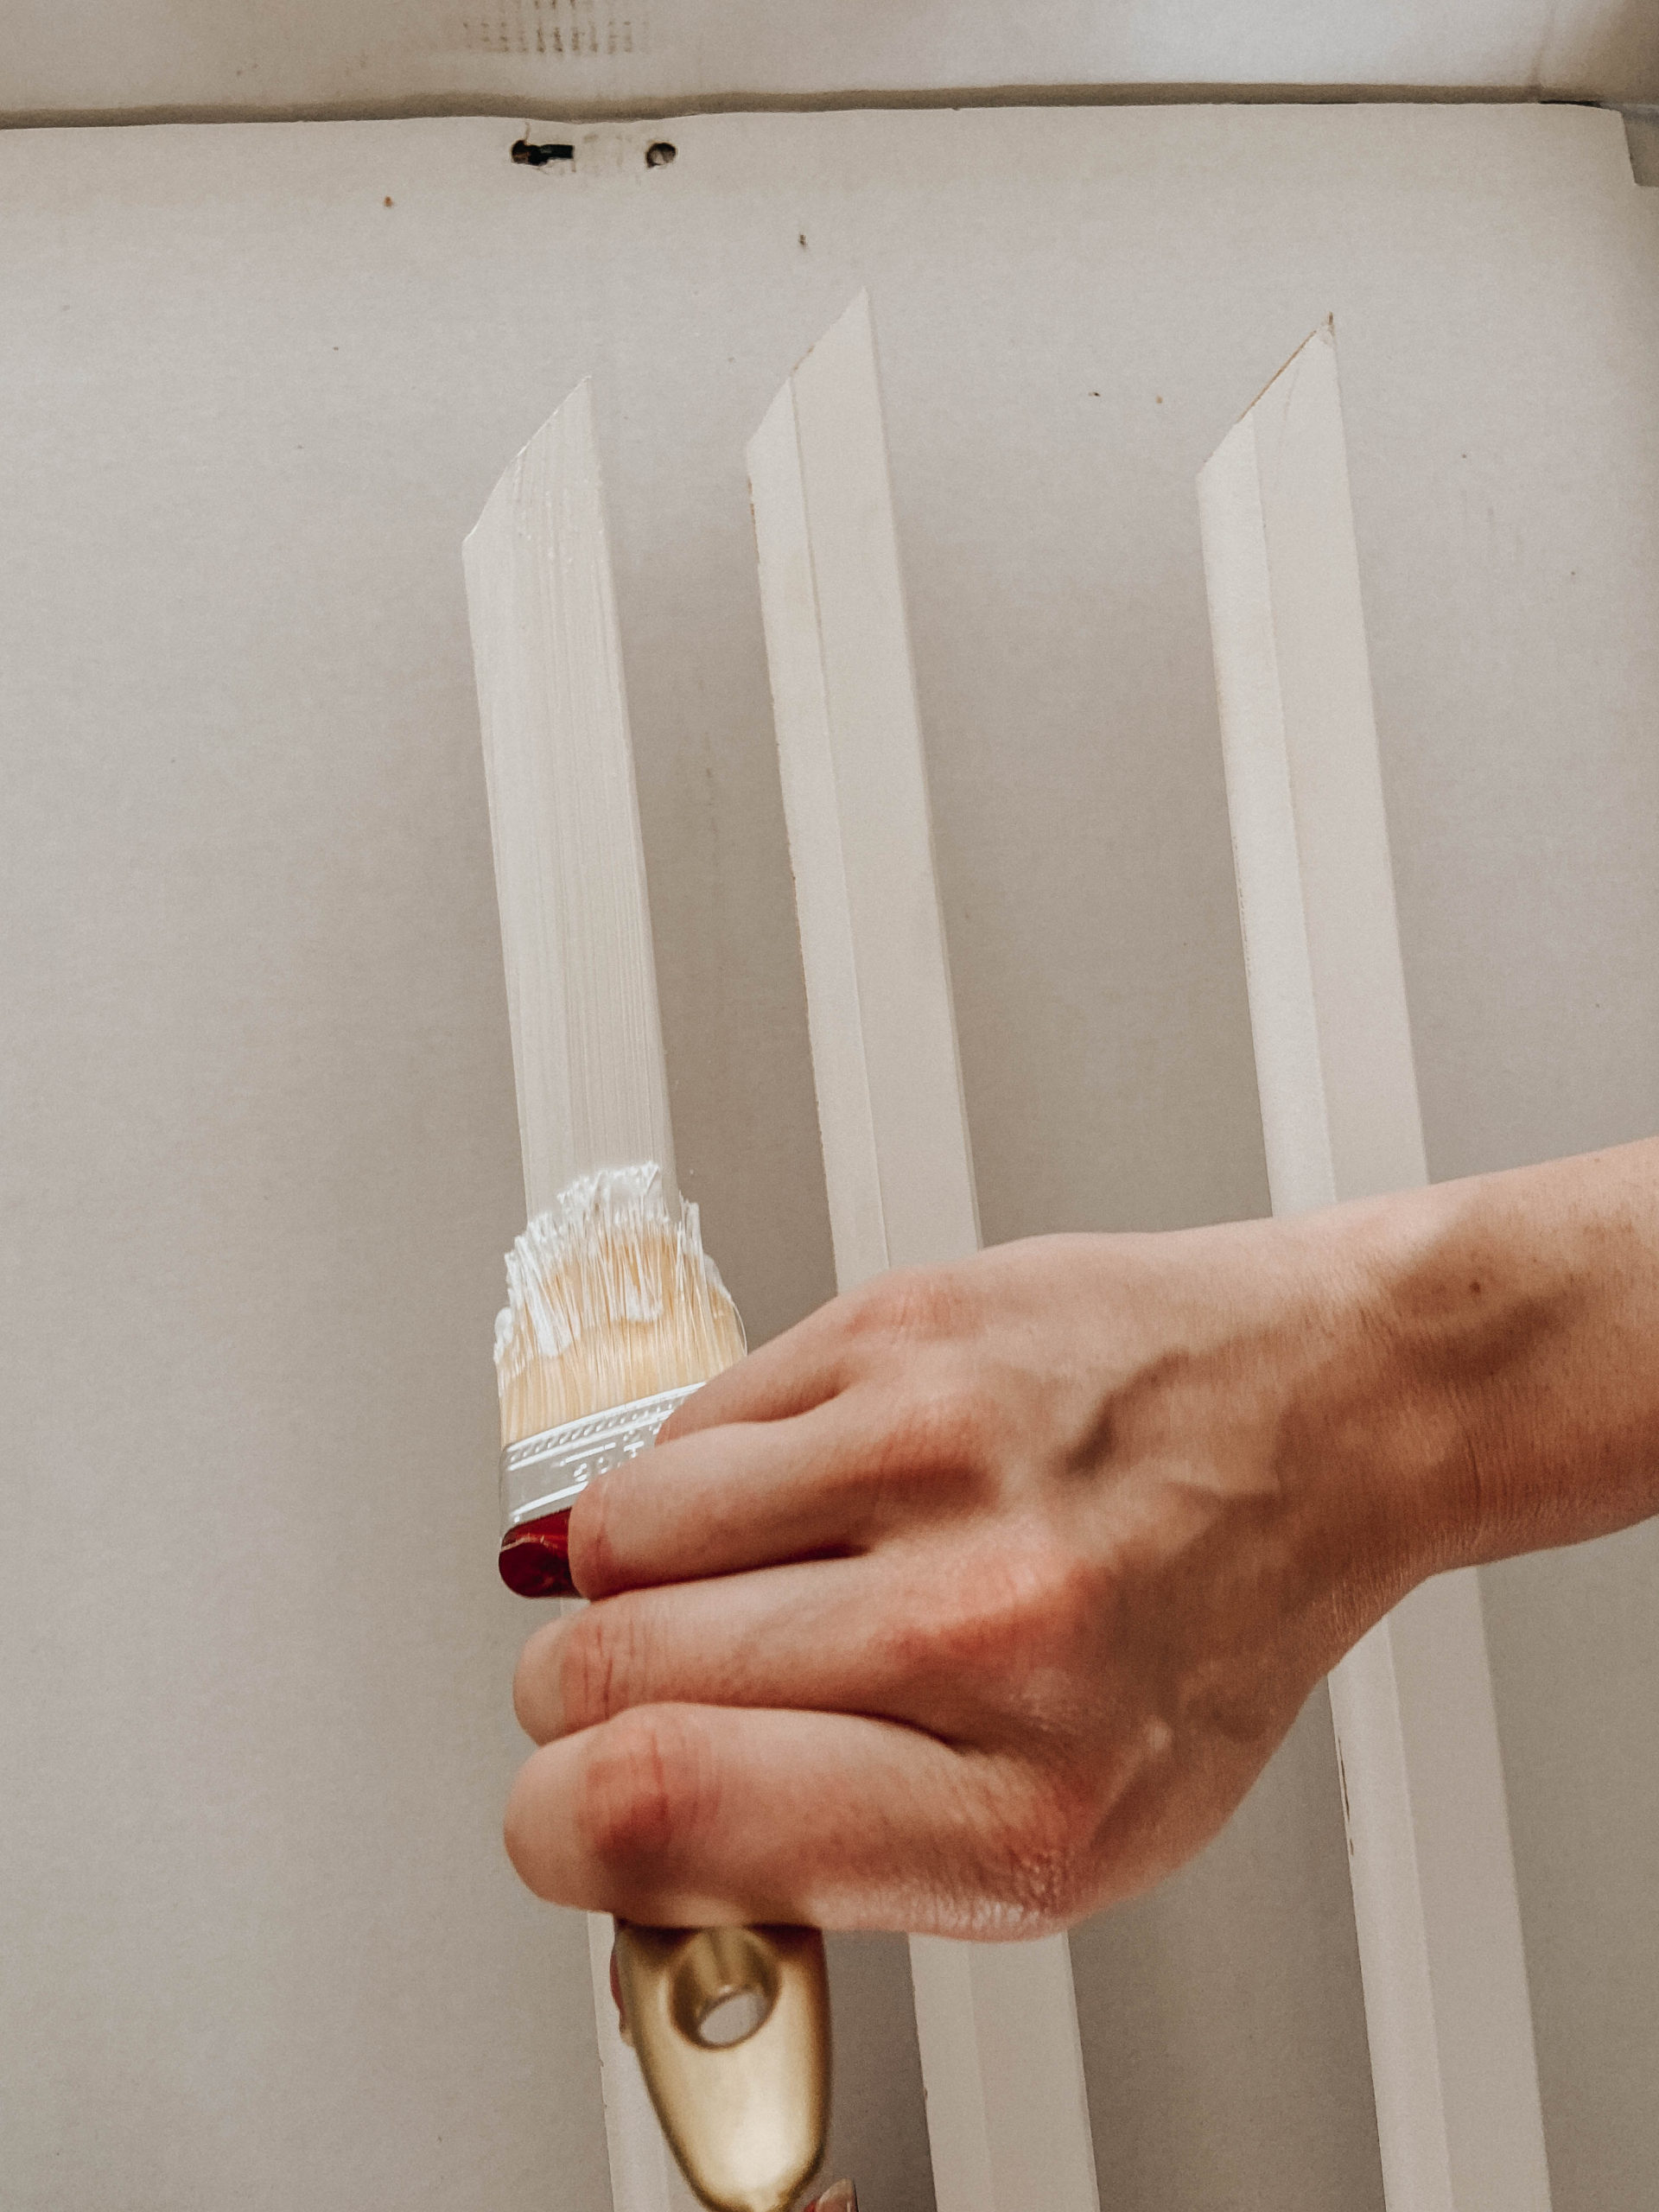
Sand the edges you cut to make the smooth otherwise they do not fit perfectly into a 90 degree angle. Wipes all wood lengths down with a damp cloth to get rid of any access wood particles that could end up in the paint. Now go ahead and paint each wood length with the colour of your choice. We opted to paint them the same colour as the wall which turned out amazing. I have seen other projects where the panels were used as more of a statement, but we love the subtle yet chic look of the tone on tone. Let the paint dry before moving on to the next step.

4. Installing DIY Panelling
Here is the real tea about this project. Since there is no real step-by-step instruction anywhere, we went ahead and wanted to install each panel with finishing nails. We quickly realized our (and most) walls are not straight and we would have to use so much caulking to actually attach the panel to the wall and create a seemless finish. We started like this on the first panel but shifted to plan to glue on each following panel with woood glue. It turns out it is much cleaner and easier this was + you do not have to worry about covering up the nails afterwards! So wood glue is ABSOLUTE KEY for this project.
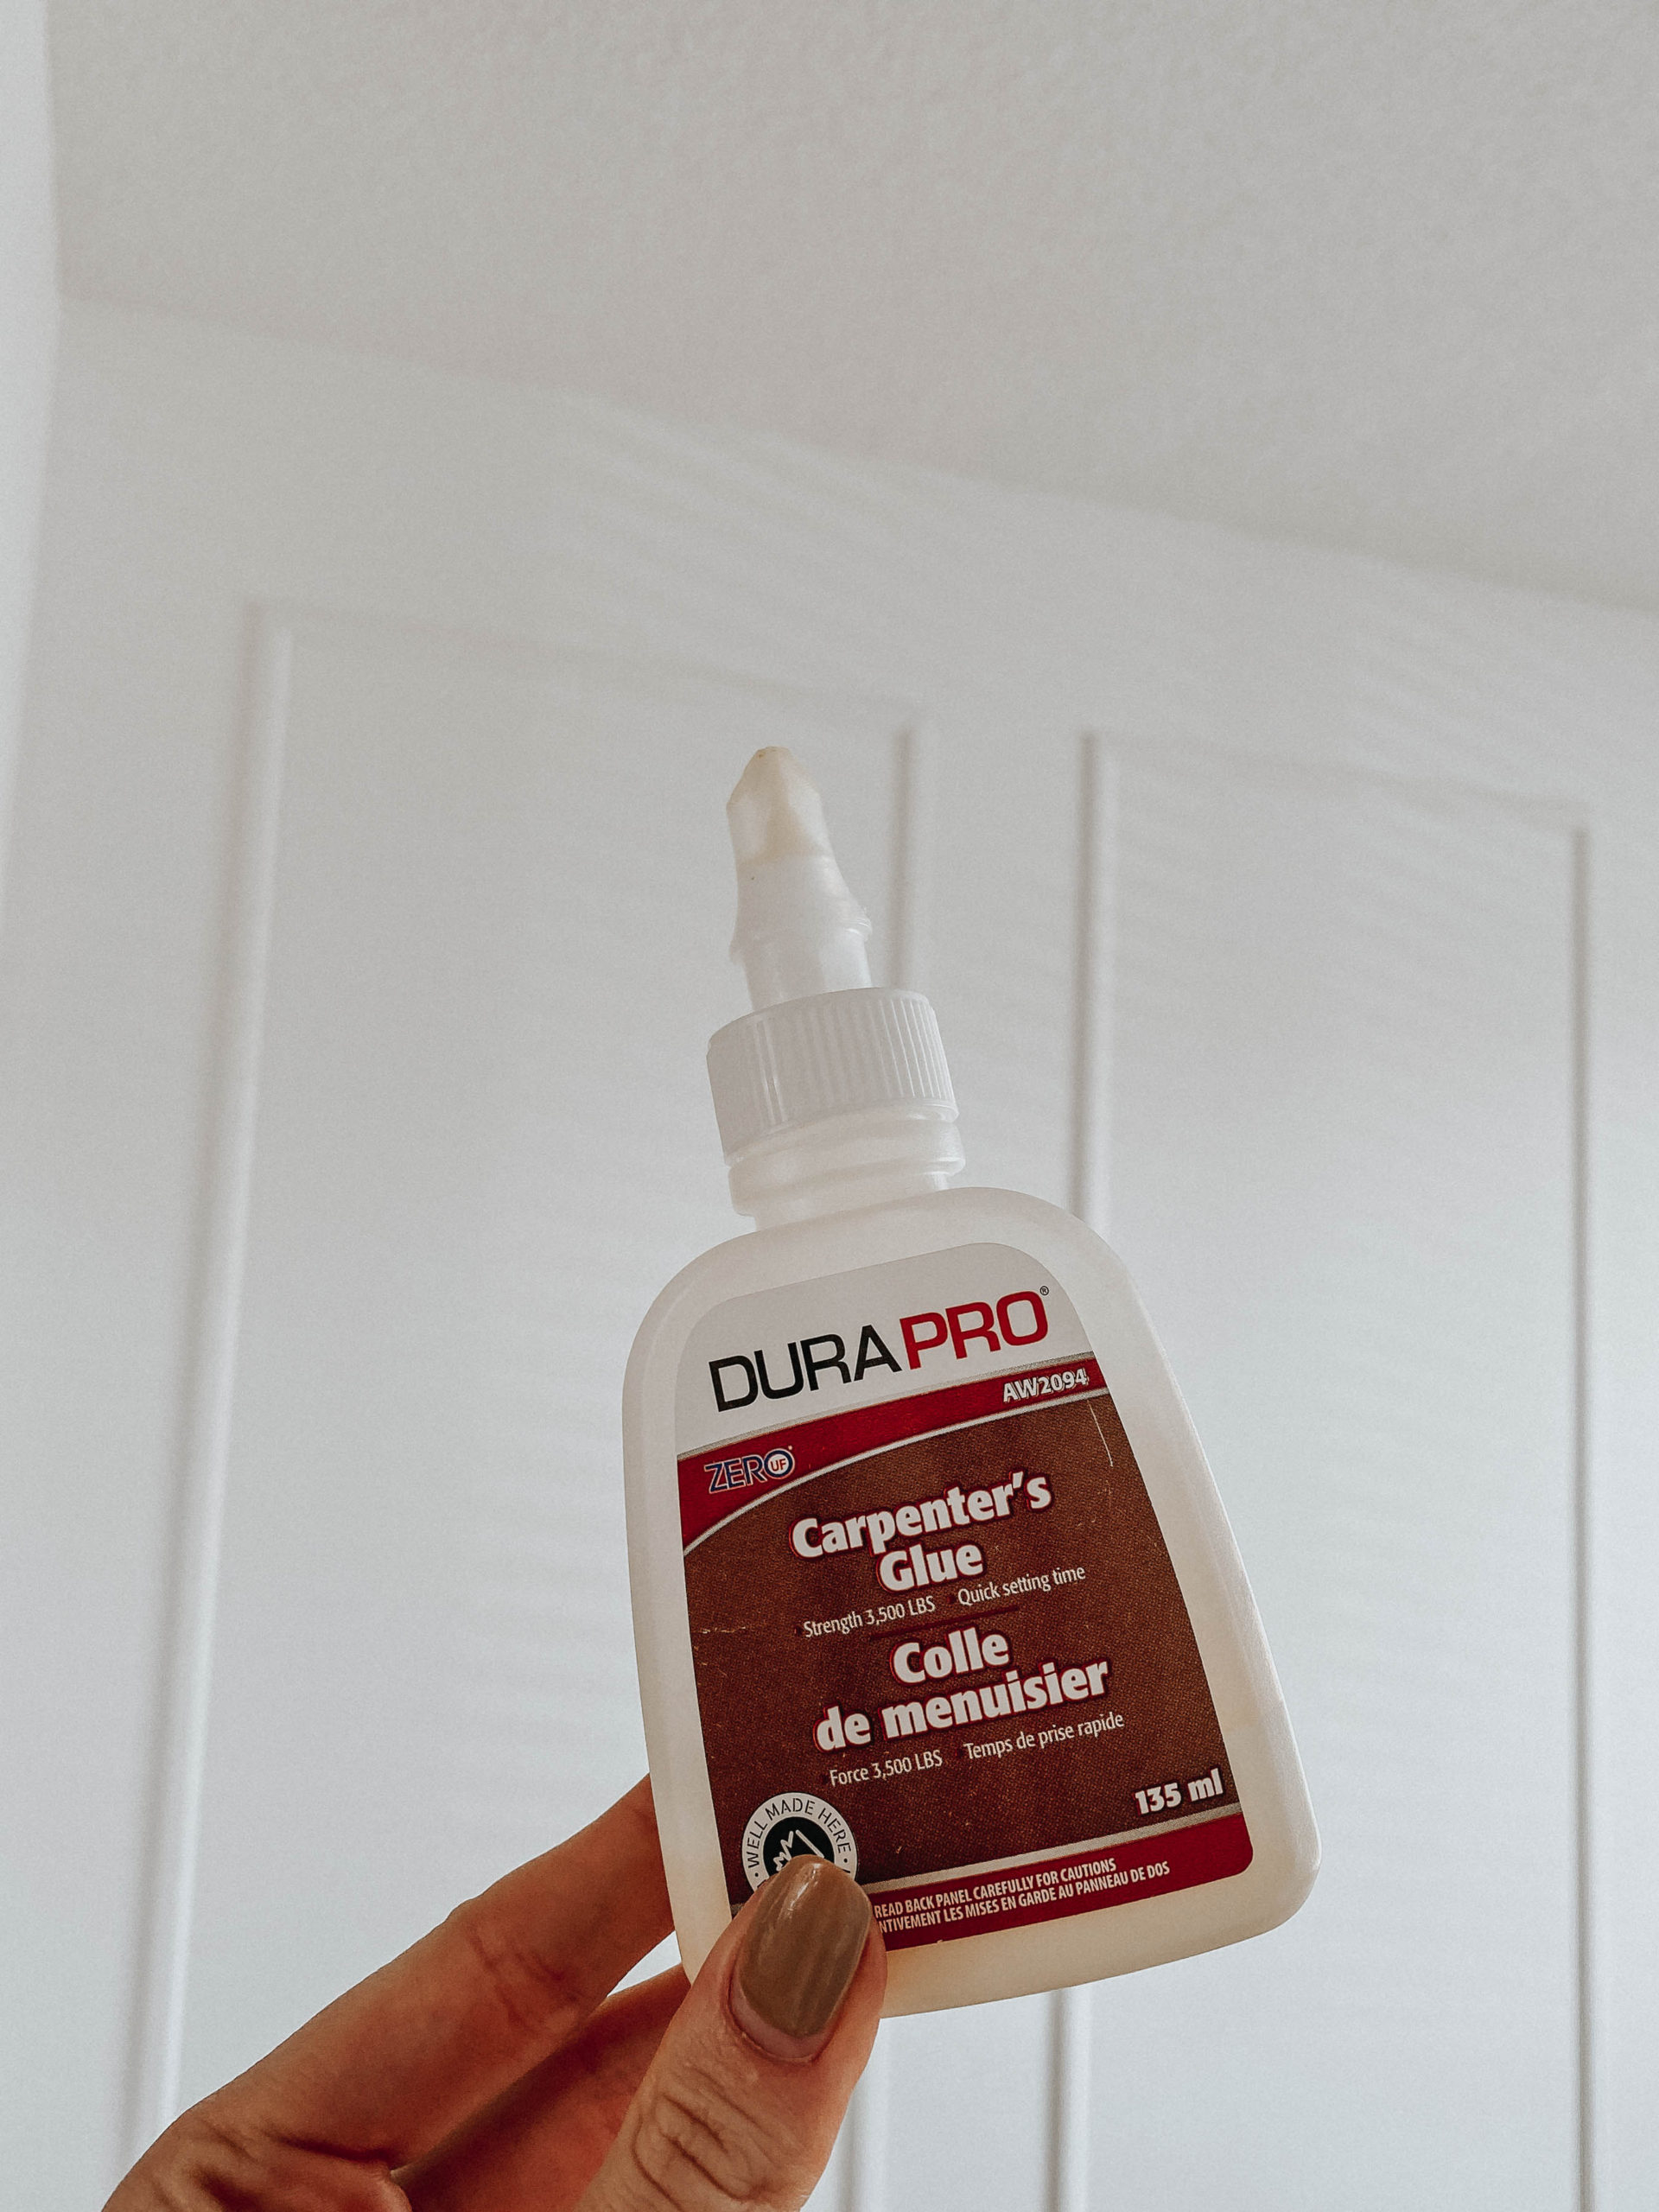

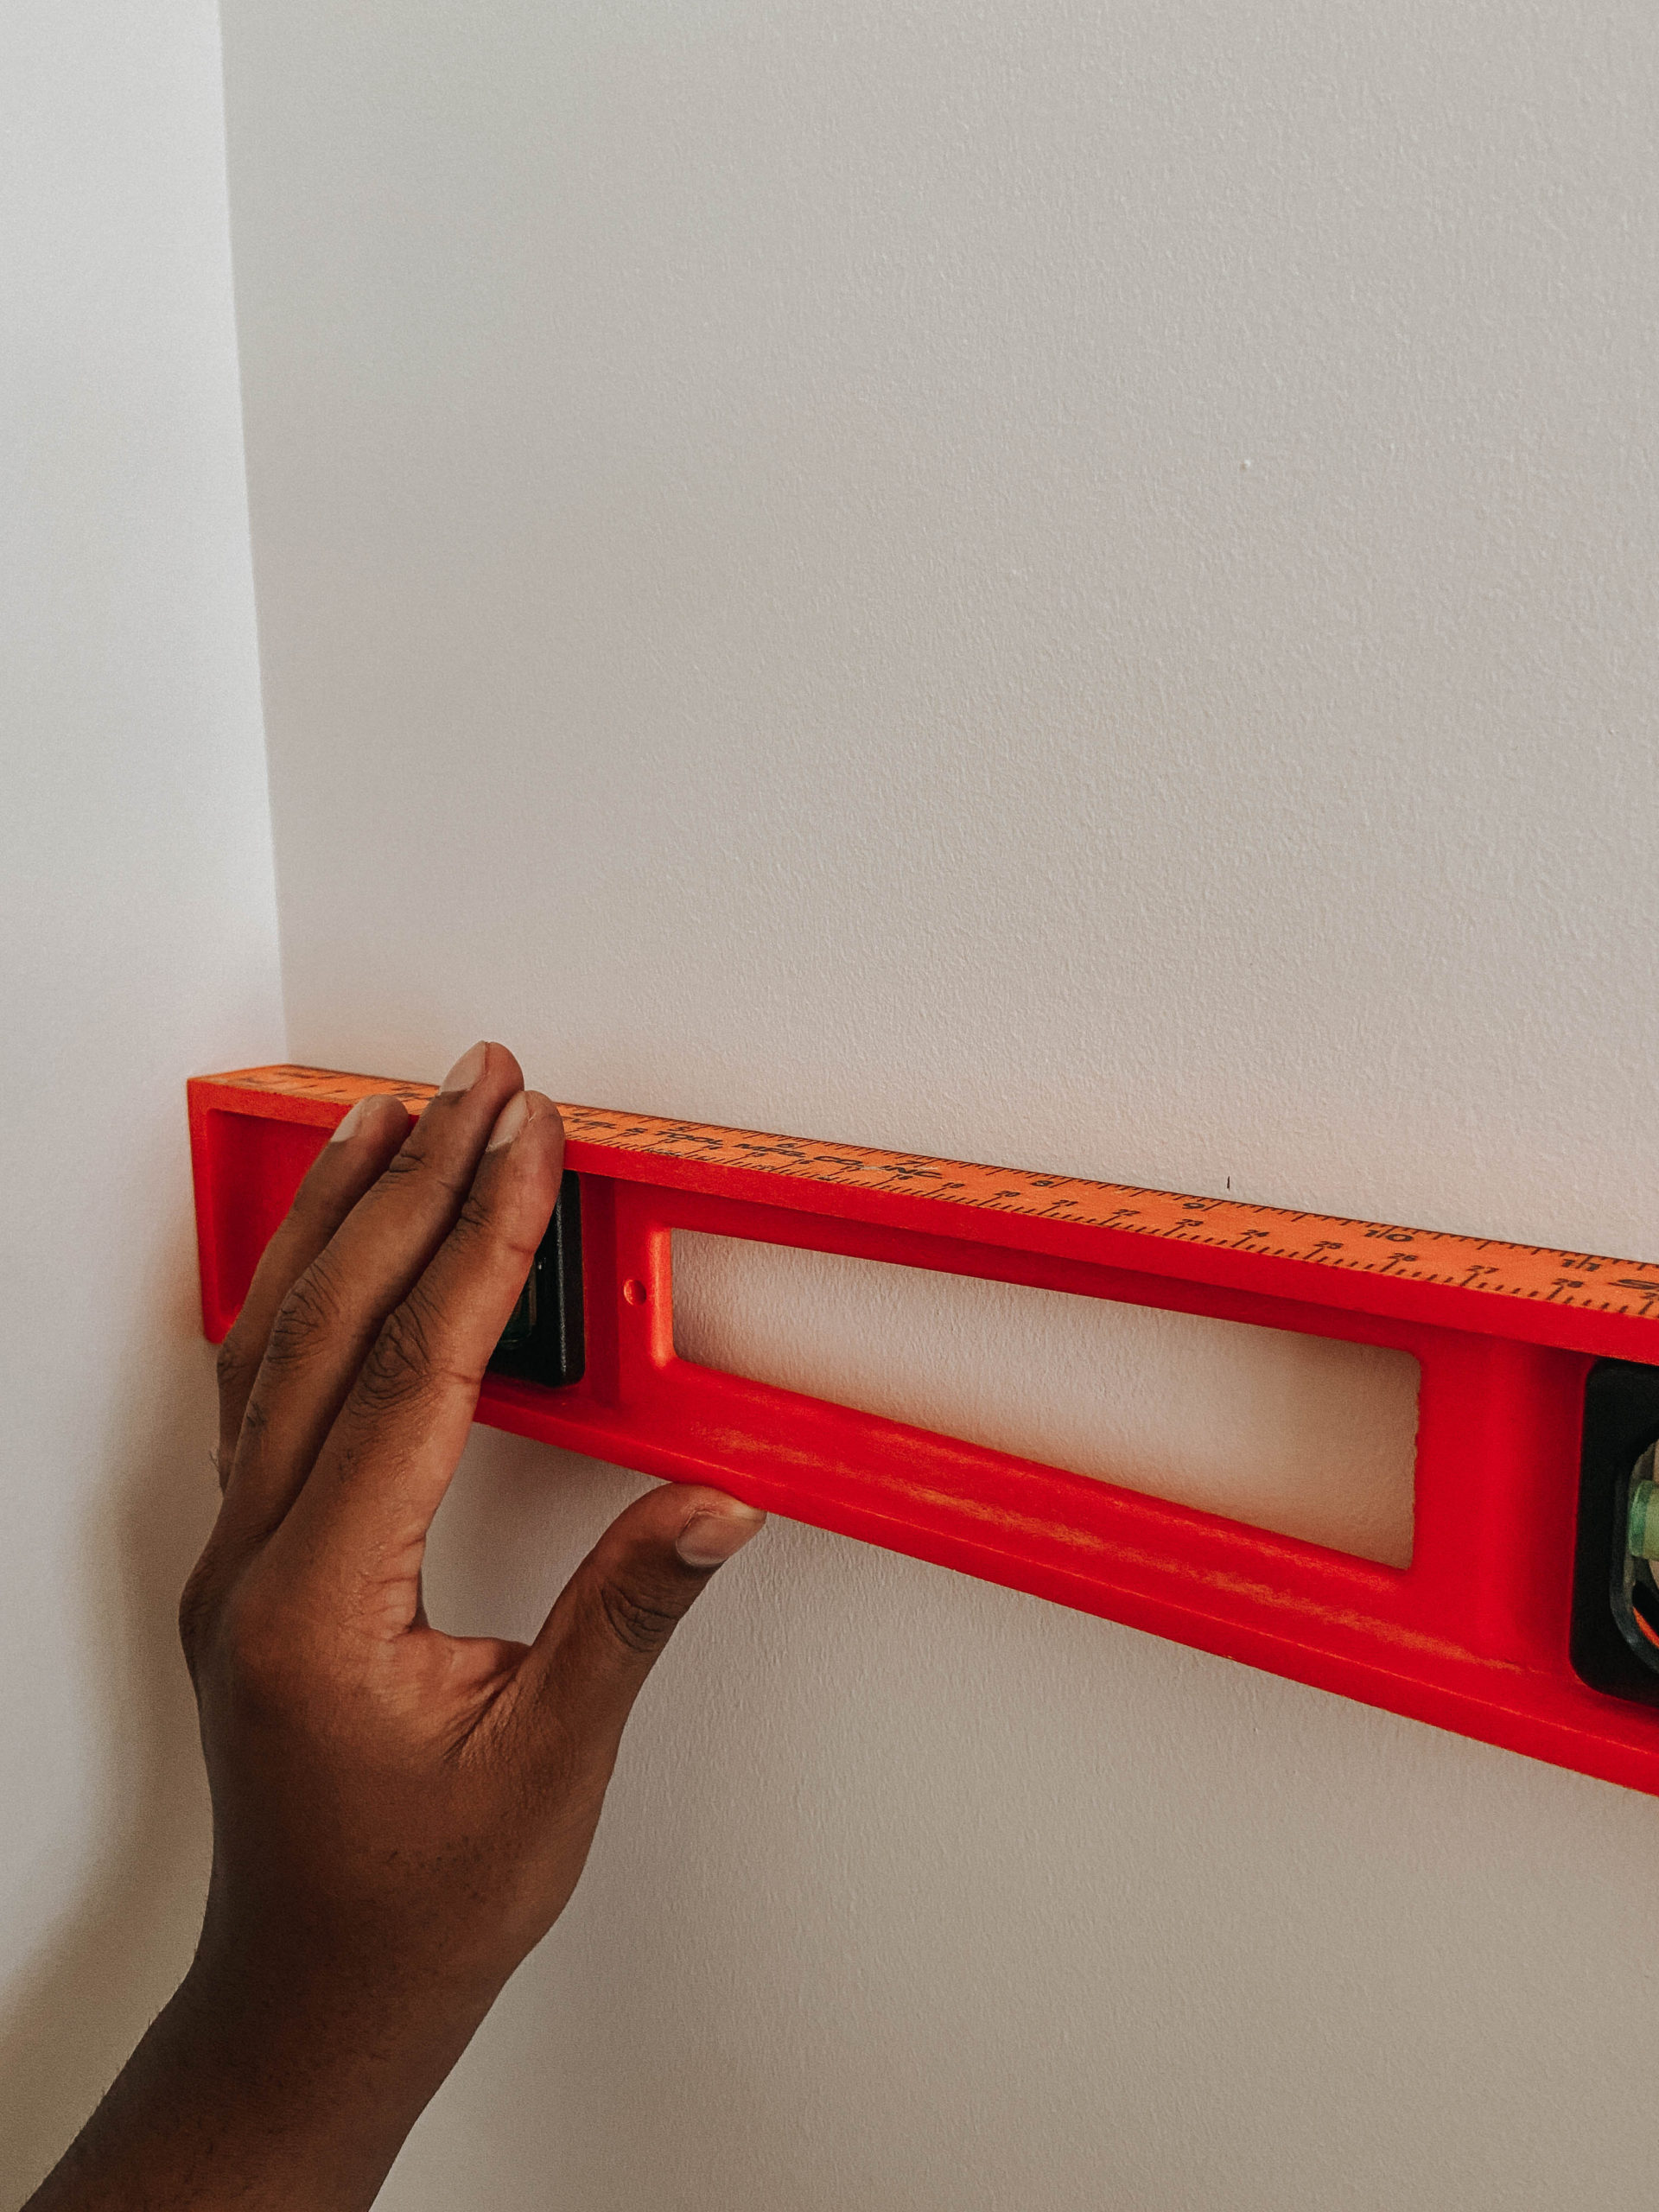
Mark were each panel is supposed to go as per your plan, and use a level to make sure each placement is 100% exact. Apply a good amount of wood glue to the back of the first panel, press it onto the wall and hold until set (about 20-30 secs). Do not rush this or your panels will move. Glue on all the panels. Once done, you might notice that your corners have little gabs or you might be able to see some of the brown wood. Simply use the caulking to cover this, and voila perfect edges.
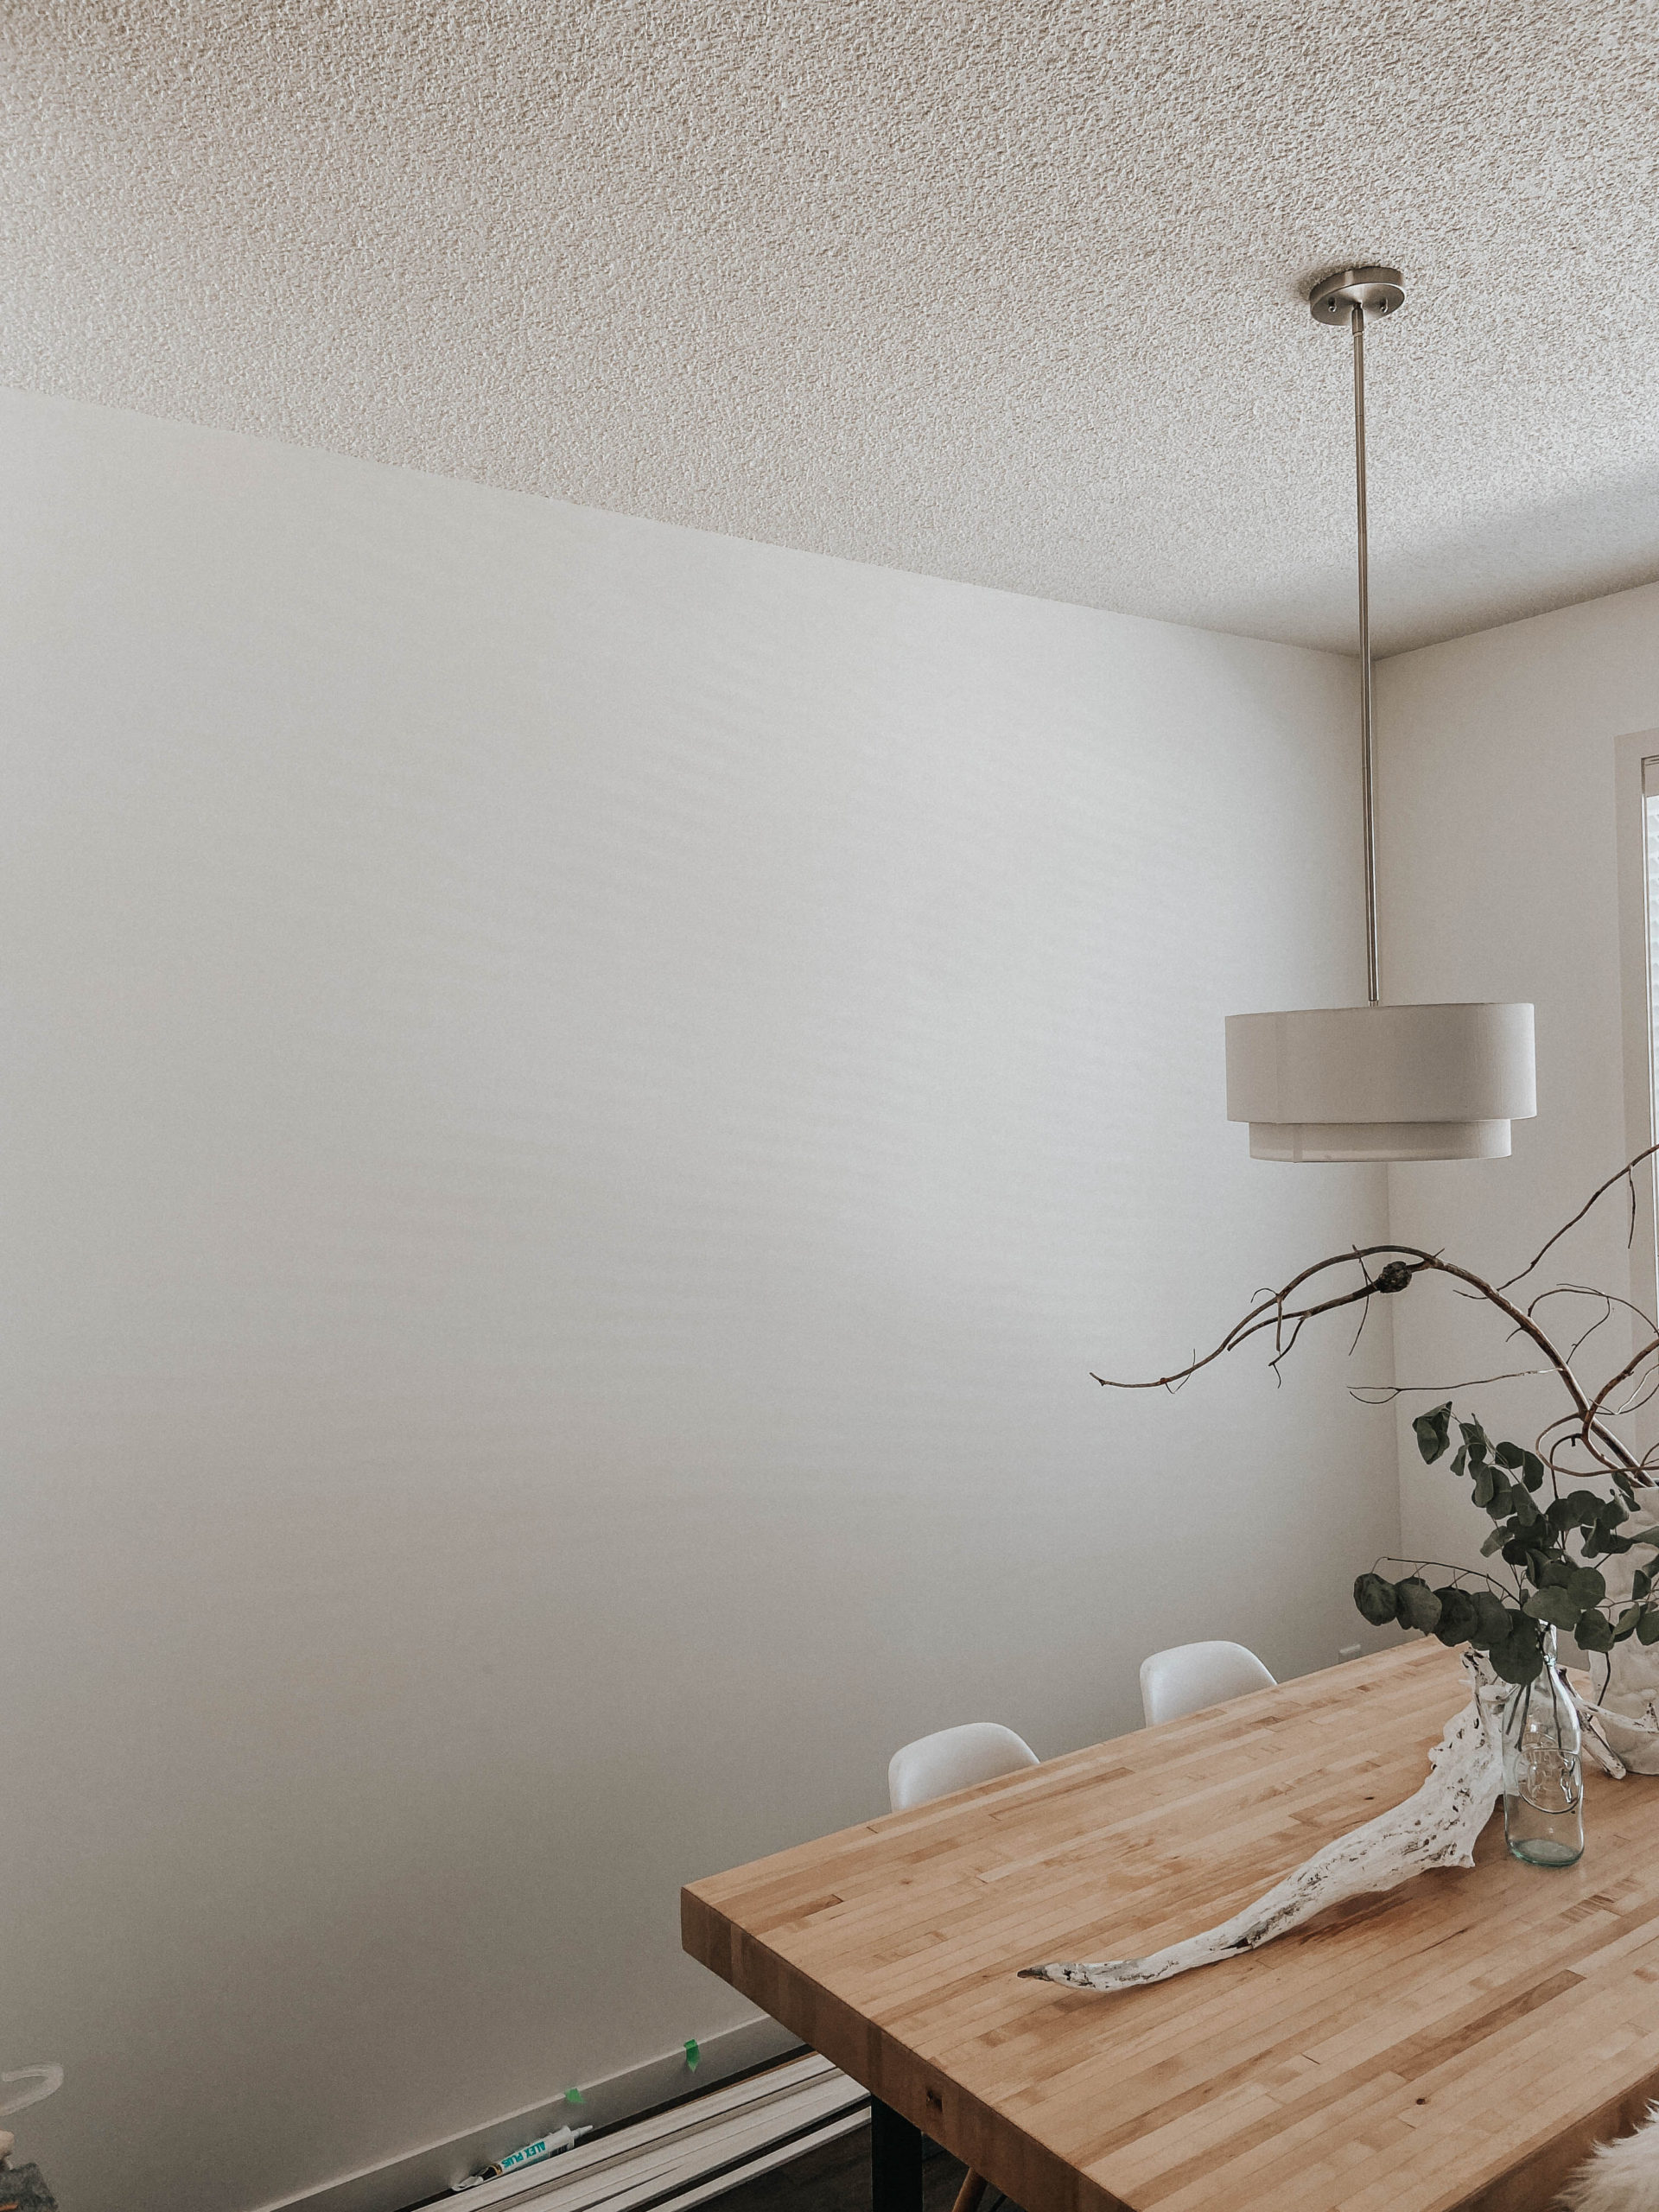
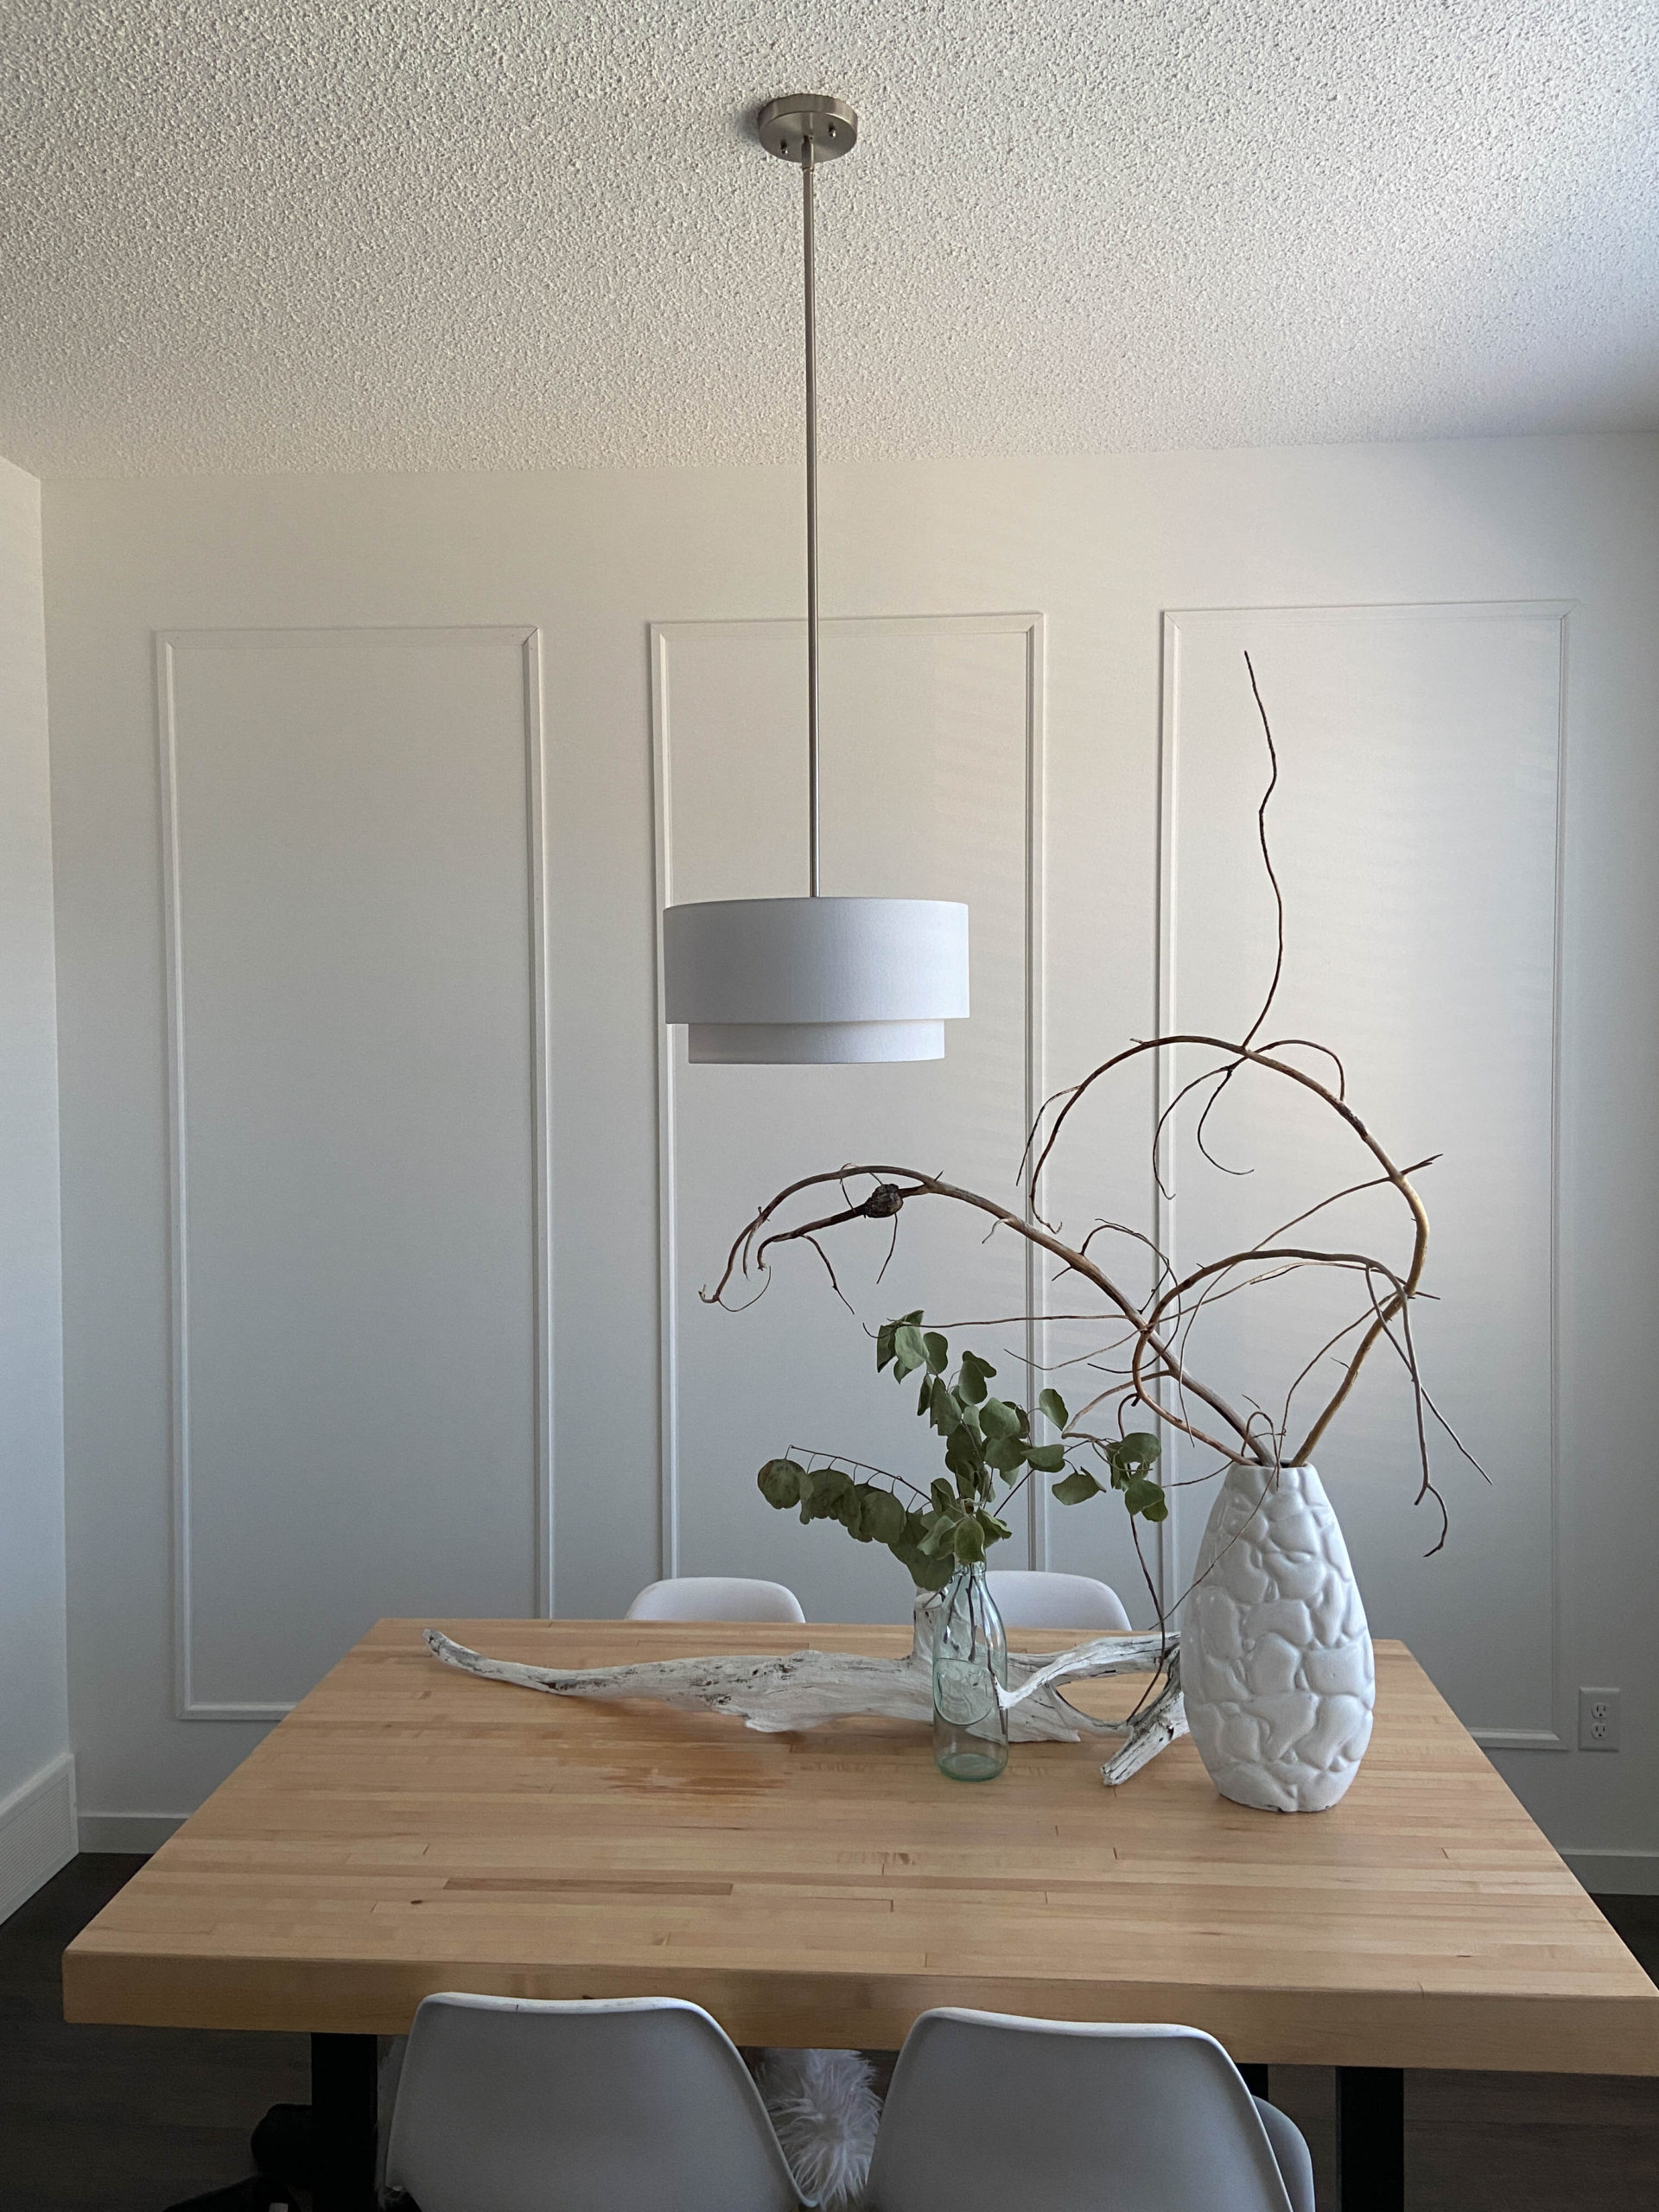
Any questions, just comment below! Enjoy your project and the elevated look of your home.

